
My very first attempt at fresh pasta was such a fiasco the strands of linguine were seasoned with my tears.
“God, I’m tired of kneading. Why isn’t this dough feeling ‘elastic’ yet???” Add water. “Oh no, now the the strands keep sticking together as they ooze out of the pasta machine!” Dust next batch with flour. “Why is it crumbling?!”
All that energy spent and the pasta ended up being super tough anyway.
So my pasta machine spent a few months stored in the cupboard, but I am a resilient carb enthusiast and felt inspired to give it another go this weekend. This time things didn’t end up so bad! To spare my emotions I played it safe with a plain batch then got bold and shot a second batch that was colored with tomato paste and turned out quite lovely.

Fresh pasta obviously takes more time and patience than boxed pasta. Still, the flavor and texture make it well worth the extra effort! It’s also fun to experiment with different variations in color/flavor.
I got lucky and found my pasta maker barely used at a thrift store. If you don’t have one, you can still use the same recipe for other types like lasagna or ravioli. This recipe yields a fairly delicate pasta and is better suited for light sauces. Heartier sauces call for a heartier pasta, and for those I would use a richer recipe with semolina flour and more eggs. Fresh pasta stores well frozen for a few months, but it’s so good I guarantee you won’t have to keep it that long. Frozen prep is easy peasy- just throw the frozen pasta into boiling water and you’re set!
My first attempt went so horribly wrong because I wasn’t fully aware of how the dough should feel and how moisture changes during different steps of the process. If you haven’t made fresh pasta before, just know that you will constantly have to check that it’s wet/pliable, yet well floured to prevent sticking. I’ll do my best to explain how the dough should feel at the different stages.
Fresh Pasta
- 2 cups of all-purpose flour
- 3 eggs
- 2(ish) teaspoons of extra-virgin olive oil
- 1/2 teaspoon of salt
For an orange hued pasta like mine, you’ll also need 2 tablespoons of tomato paste.
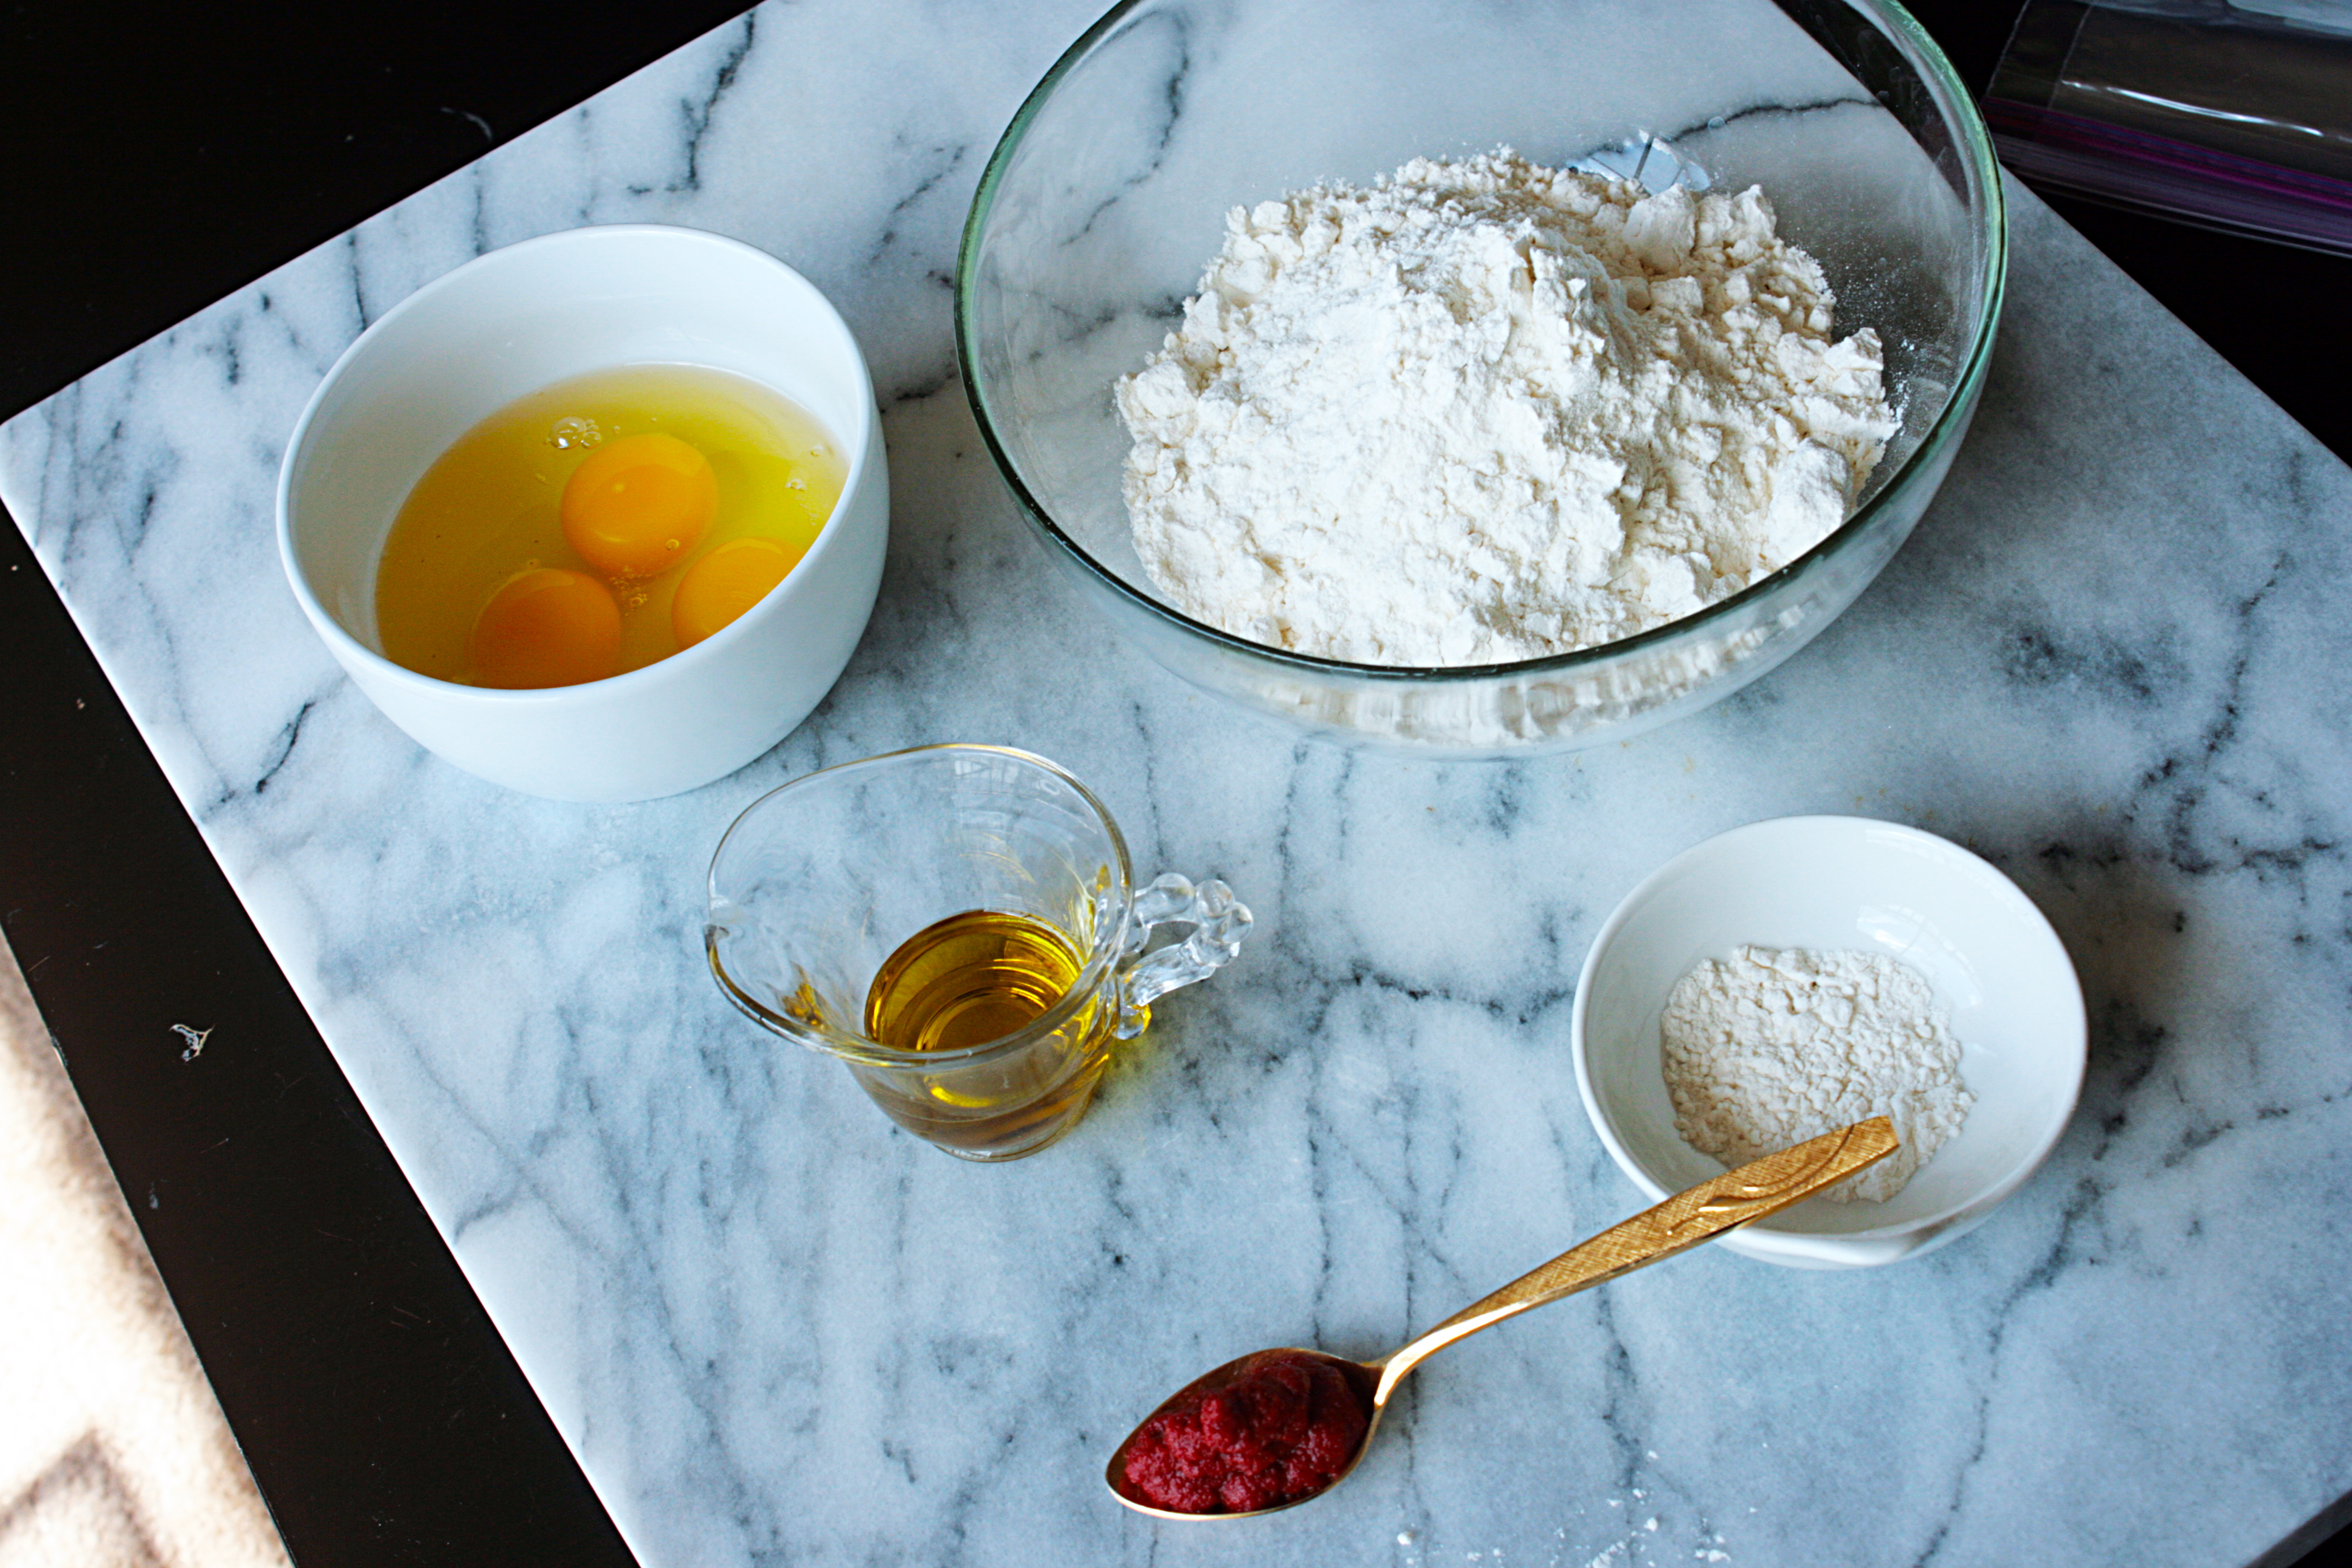
Cento tomato paste is a staple in my fridge.

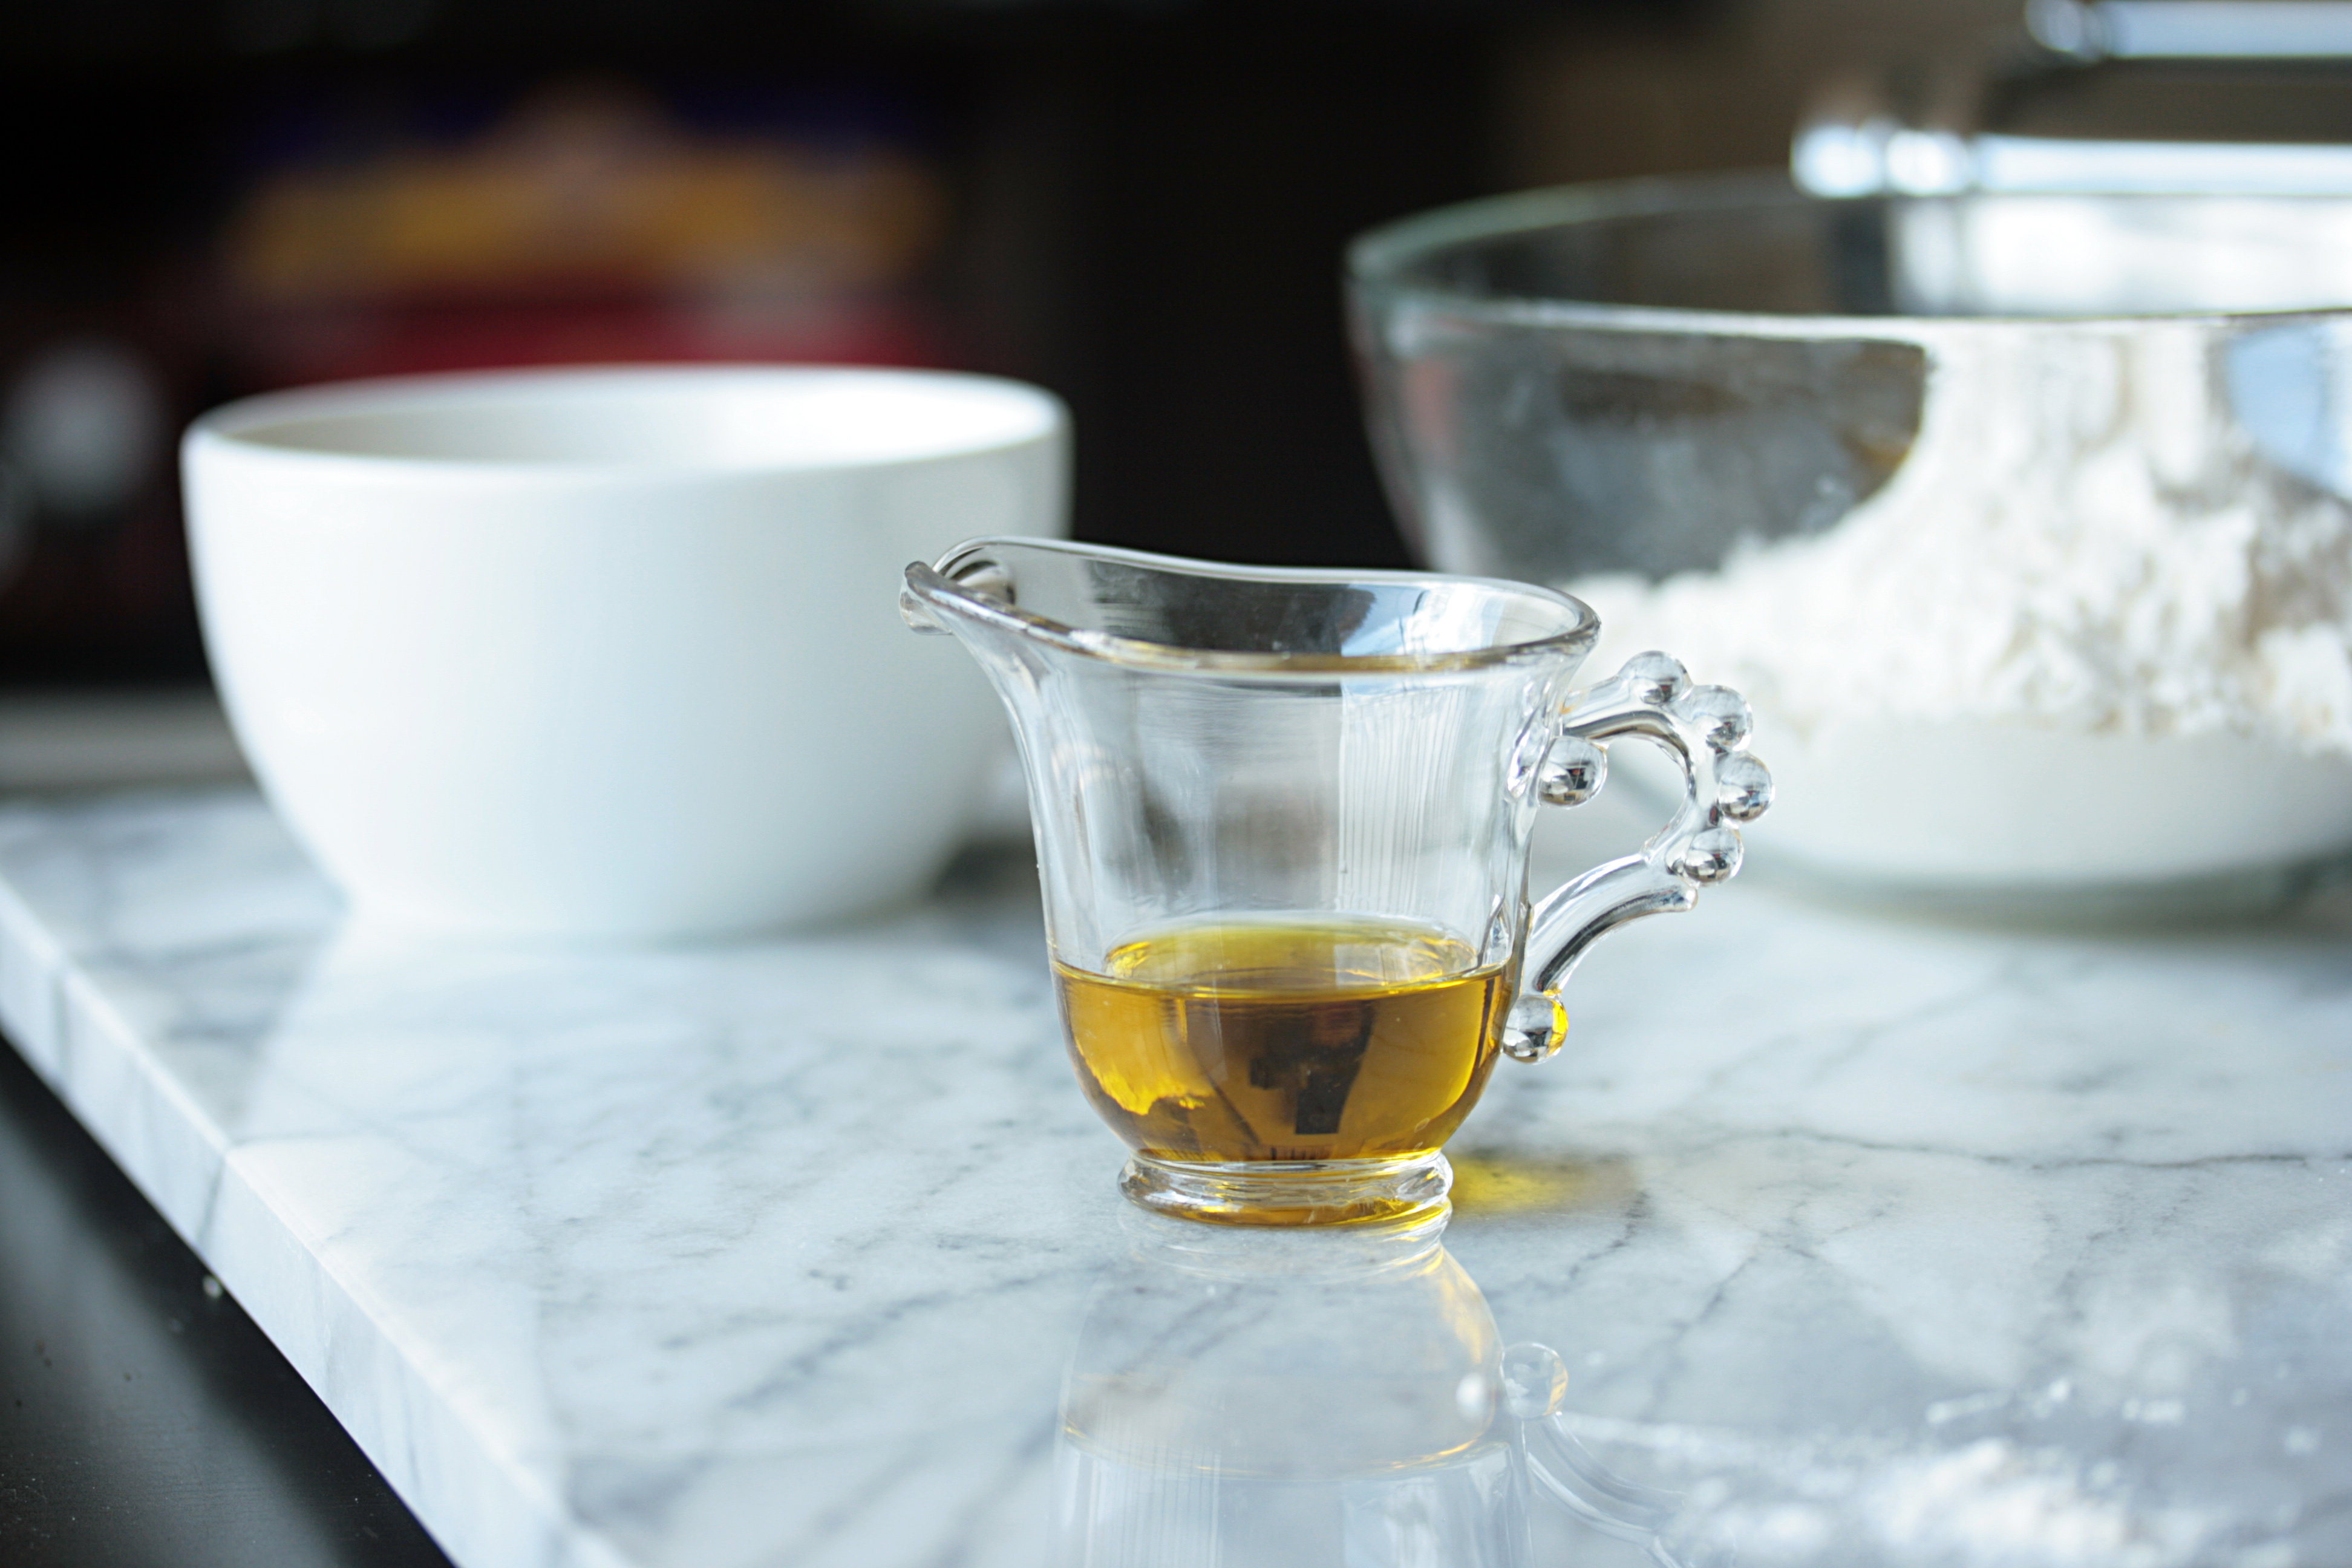
Measure out the olive oil, plus a little extra for when you want to adjust the dough’s moisture.
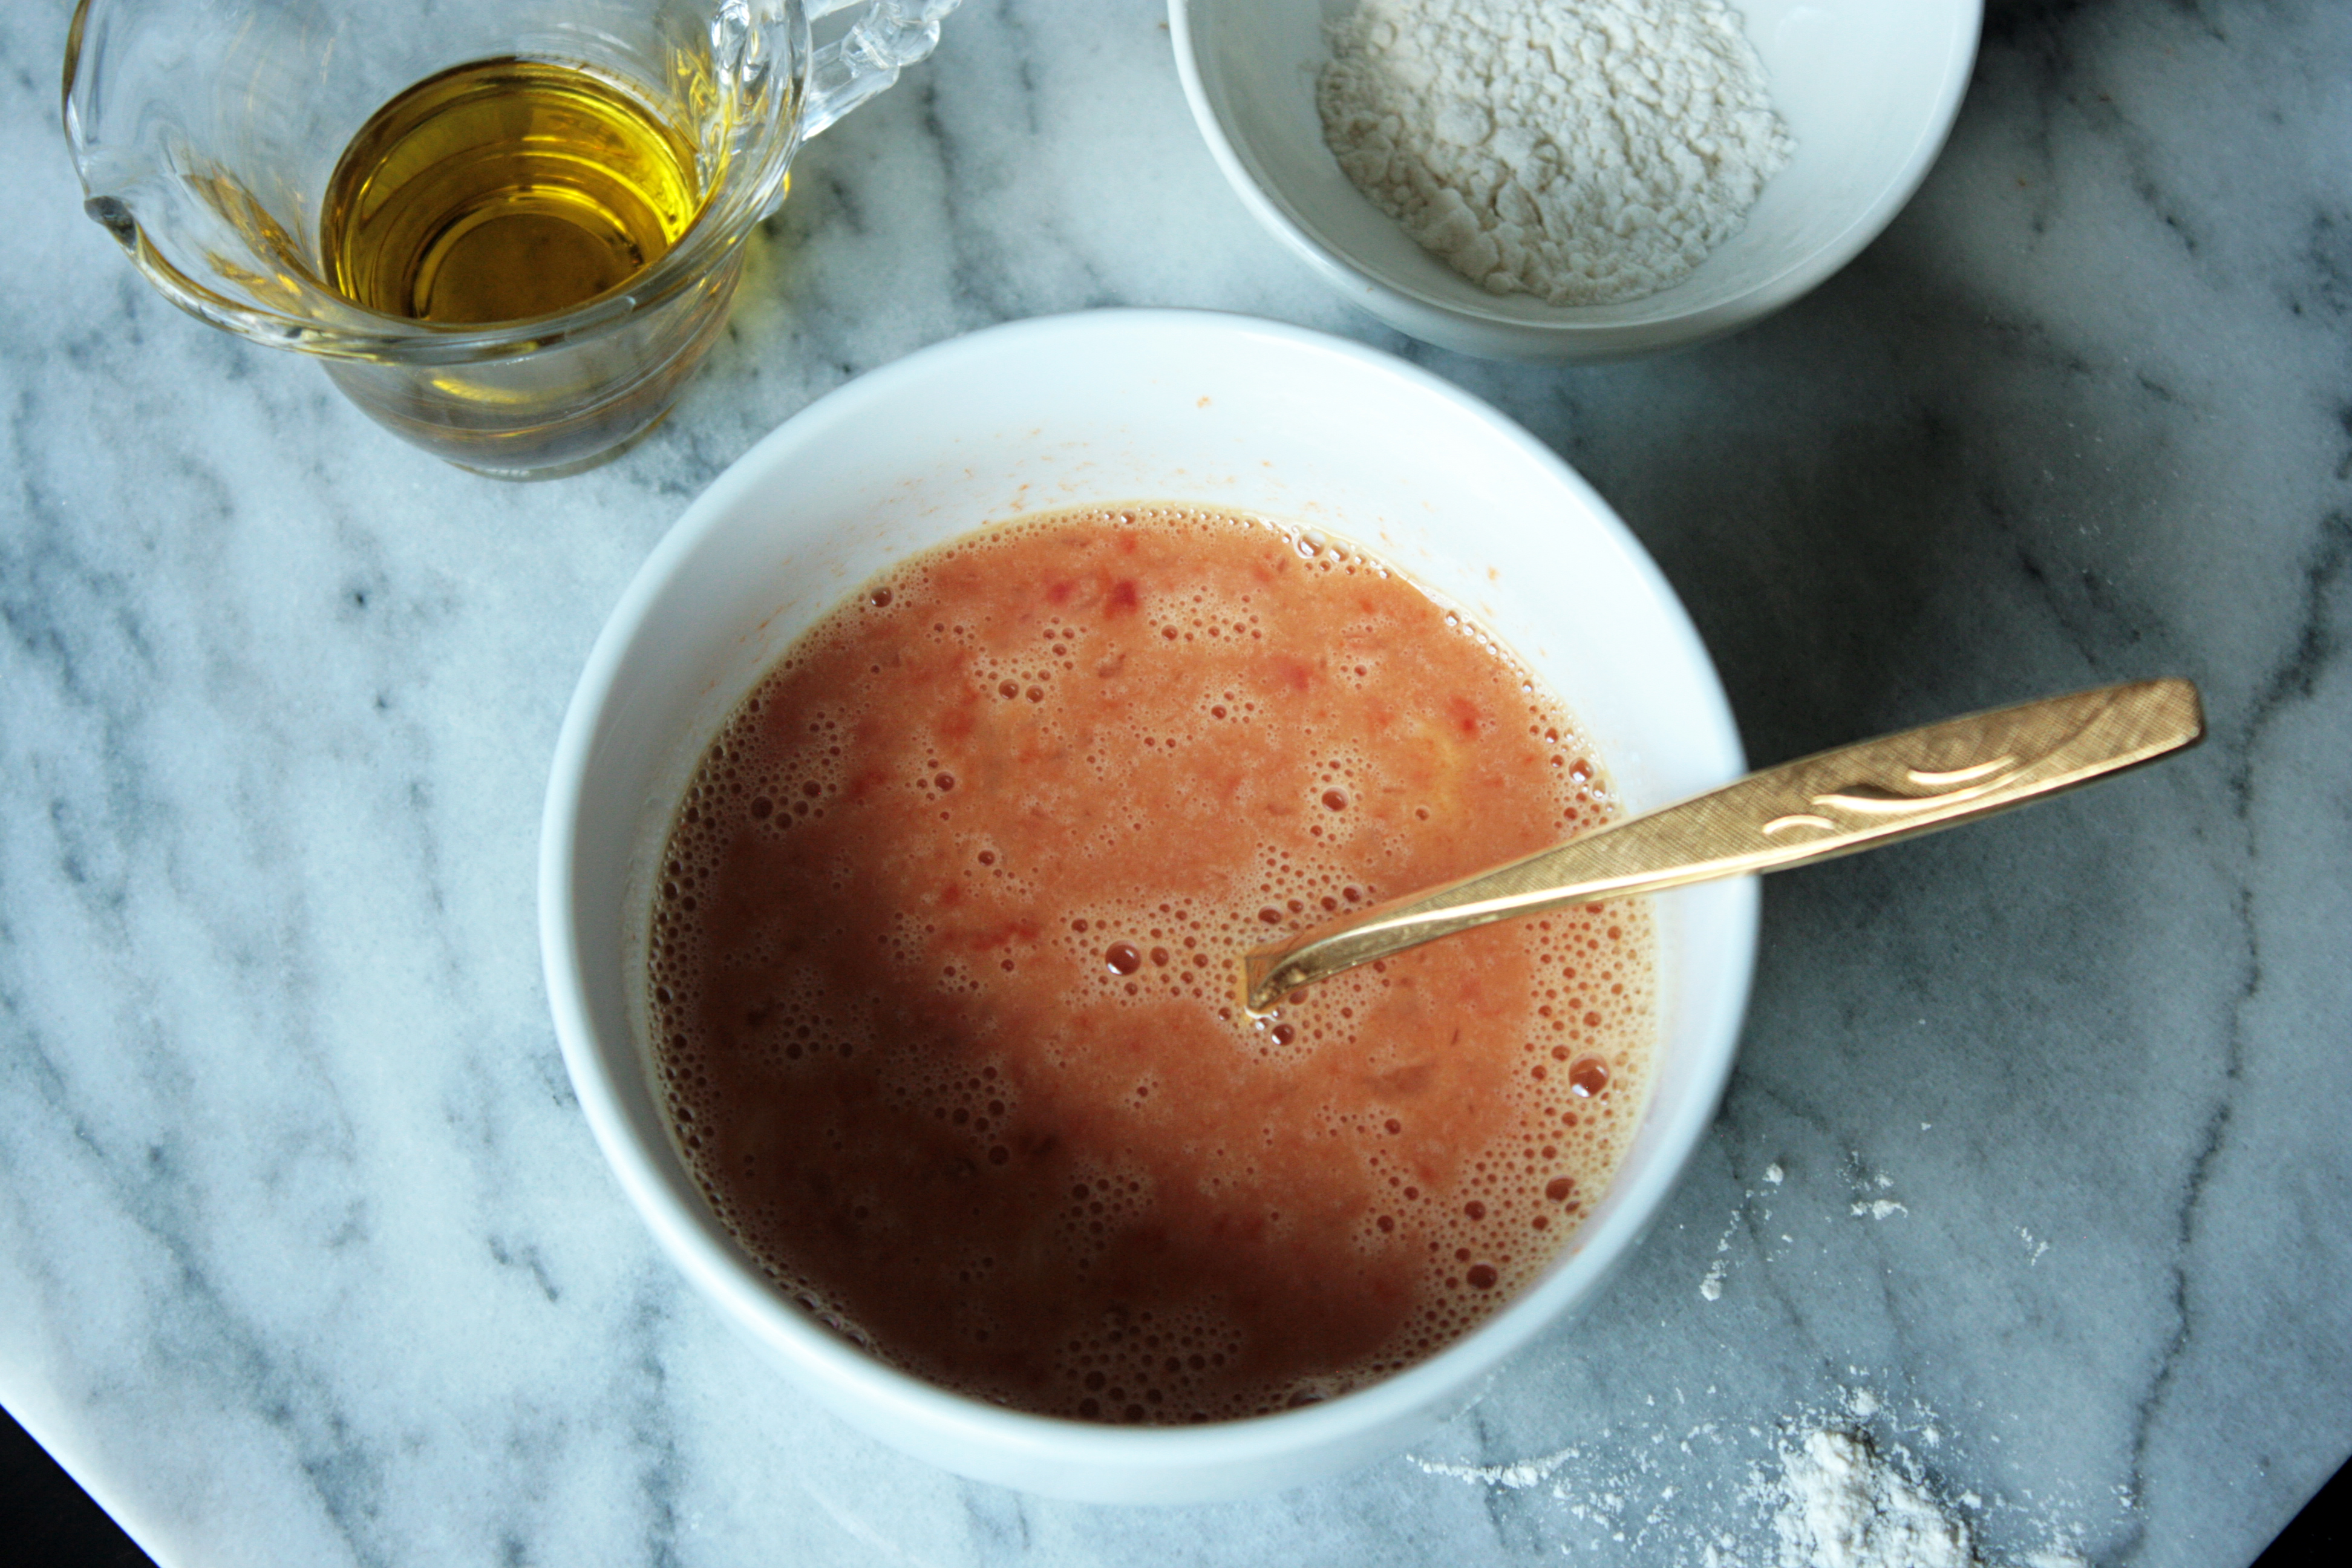
If you are using anything to flavor/color your pasta, mix it in with the eggs.
Shape flour into a mound with a large hole in the center. It should look like a mini volcano.

Carefully pour egg mixture into your flour volcano along with olive oil and salt. Widen the dent’s edges if you have to in order to stop the liquid from overflowing. Overflow gets messy and it’s impossible to reverse the spillage.
My first time around ended up with egg spilling all over my work surface. This leads to impossibly sticky fingers from trying to keep everything together and a difficult time kneading everything to an even consistency.

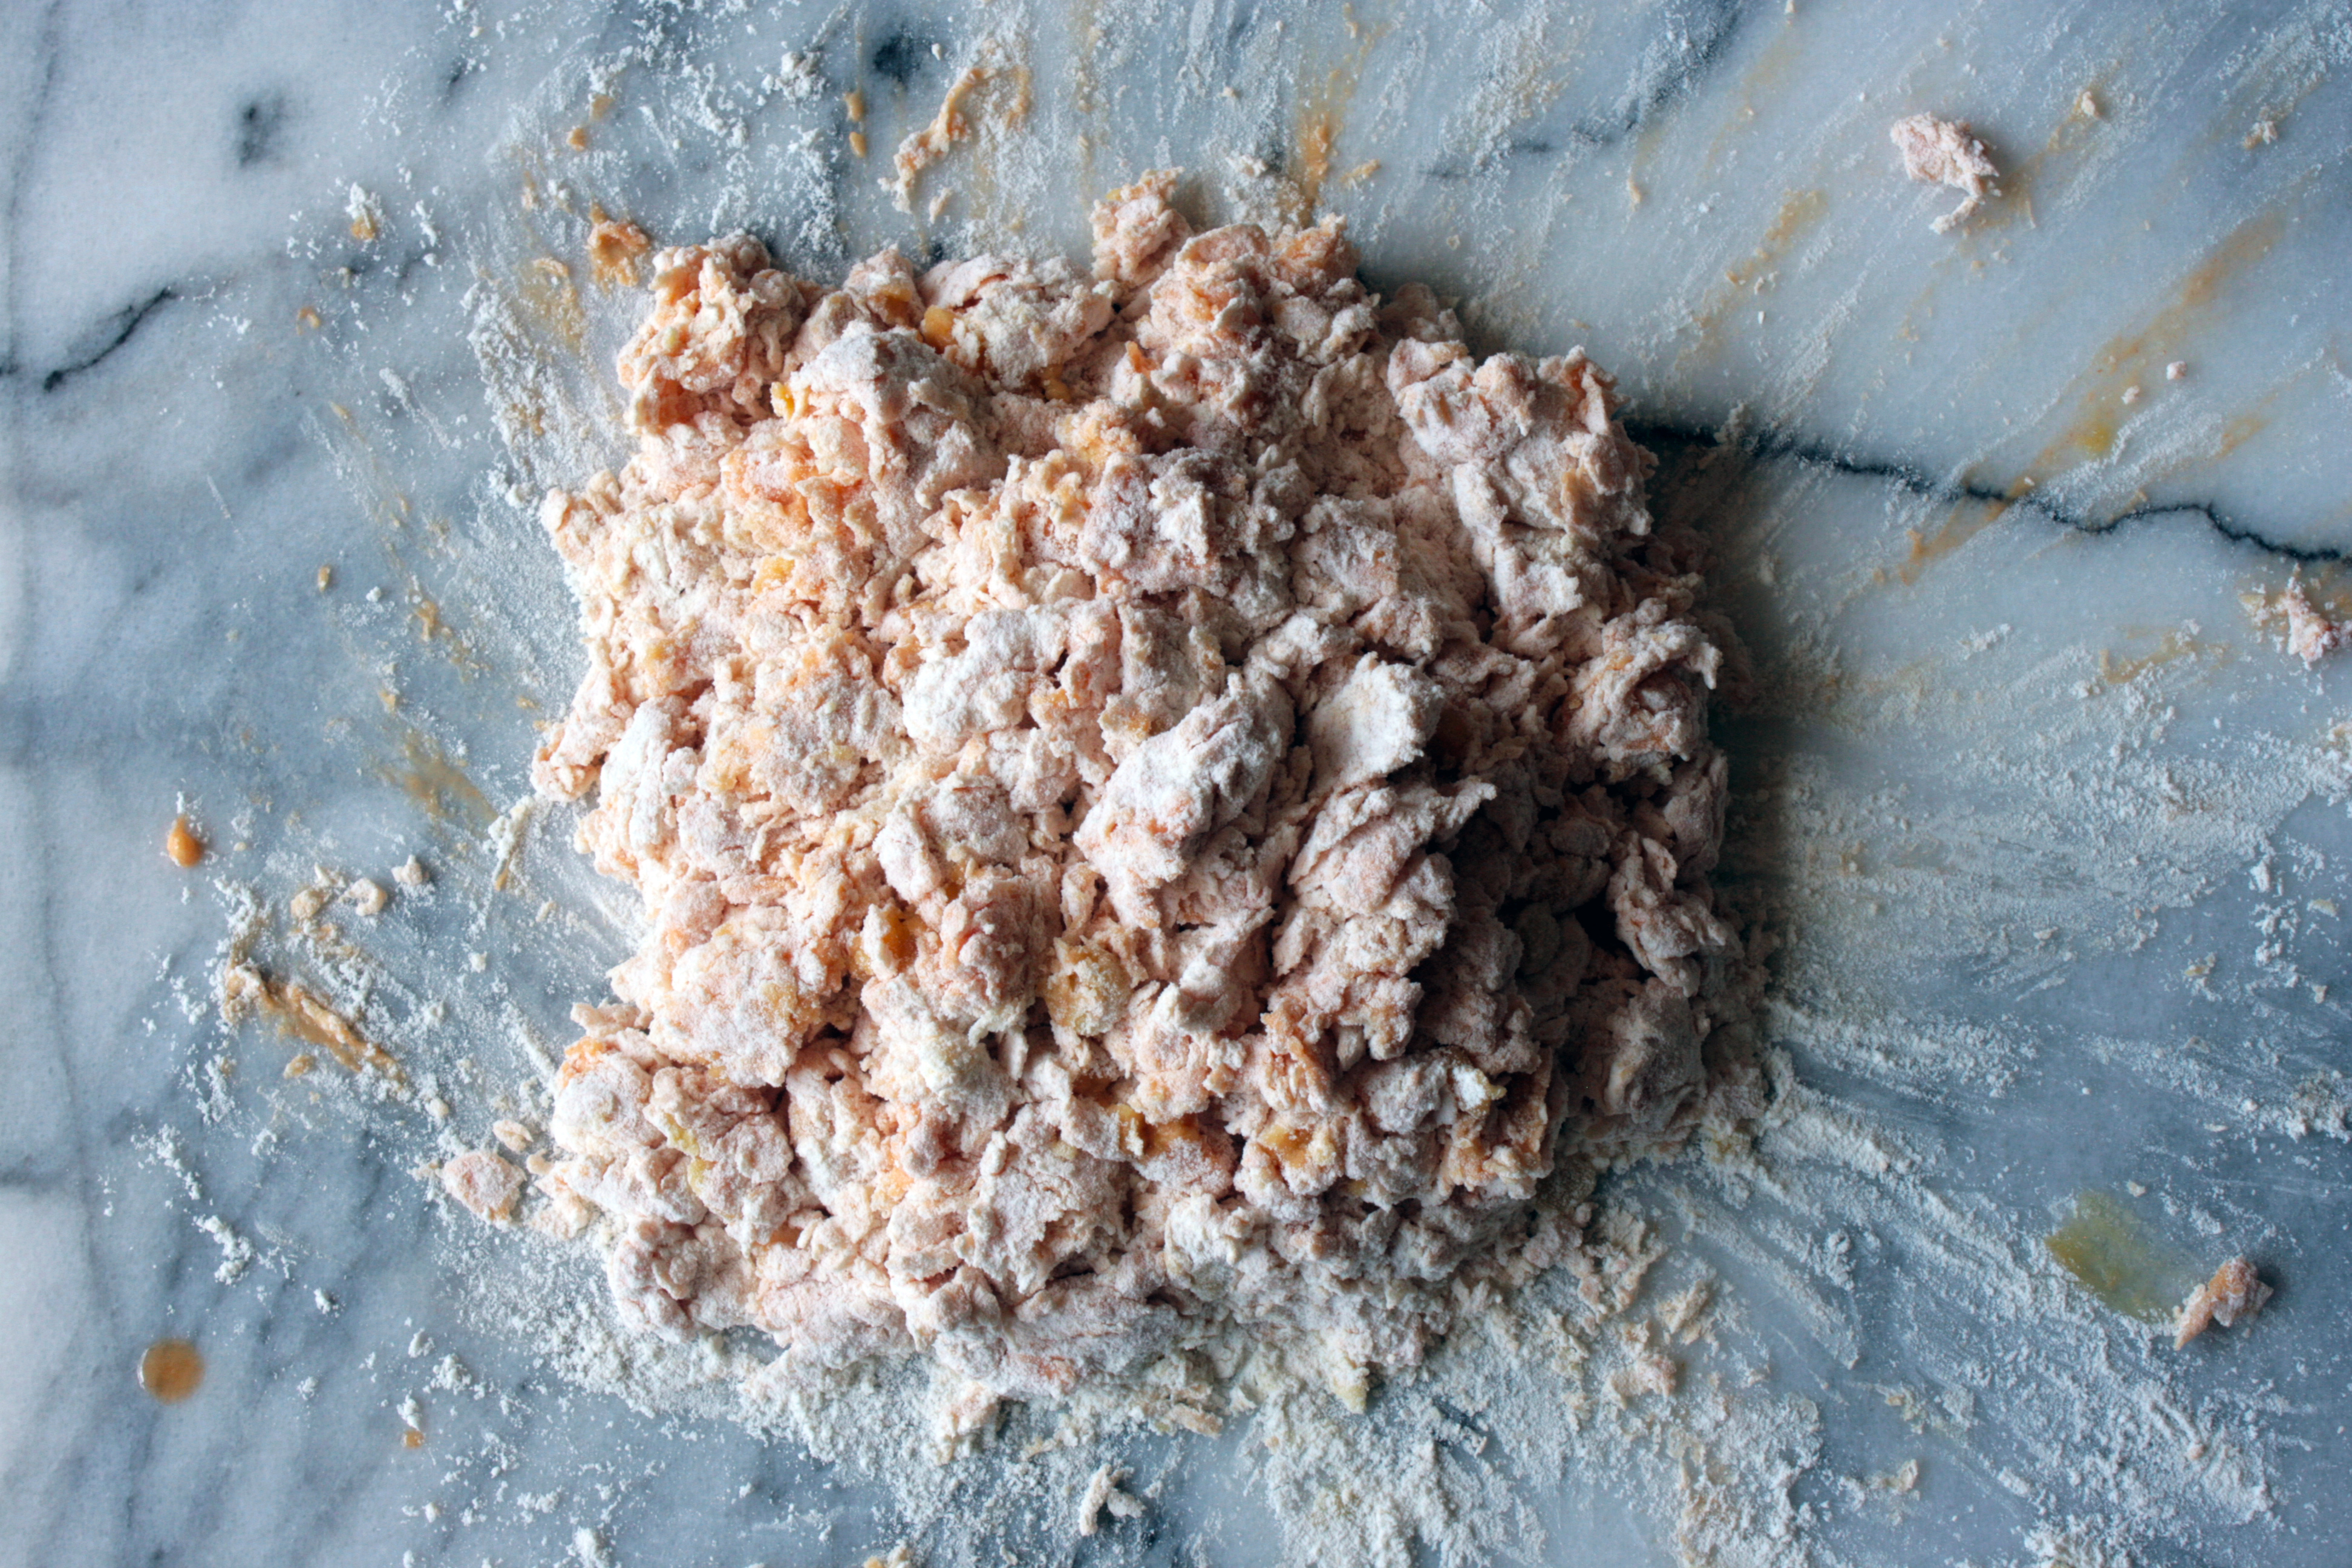
Working from the center out, use a fork to carefully incorporate the eggs into the flour. It’s an odd combination between pushing the egg into the flour, some swirling action, and just letting the flour soak up the liquid. The dough should look lumpy but still feel moist, soft, and fluffy to the touch because of the outer coating of dry flour.
Now that the liquid is more or less absorbed it’s safe to start using your hands to knead the dough.

Keep kneading until the pockets of flour and liquid are evenly distributed, about 8 minutes. The dough should be smooth and pull when stretched. If it feels too wet, knead some flour in, and if it is too dry/crumbly add some olive oil.
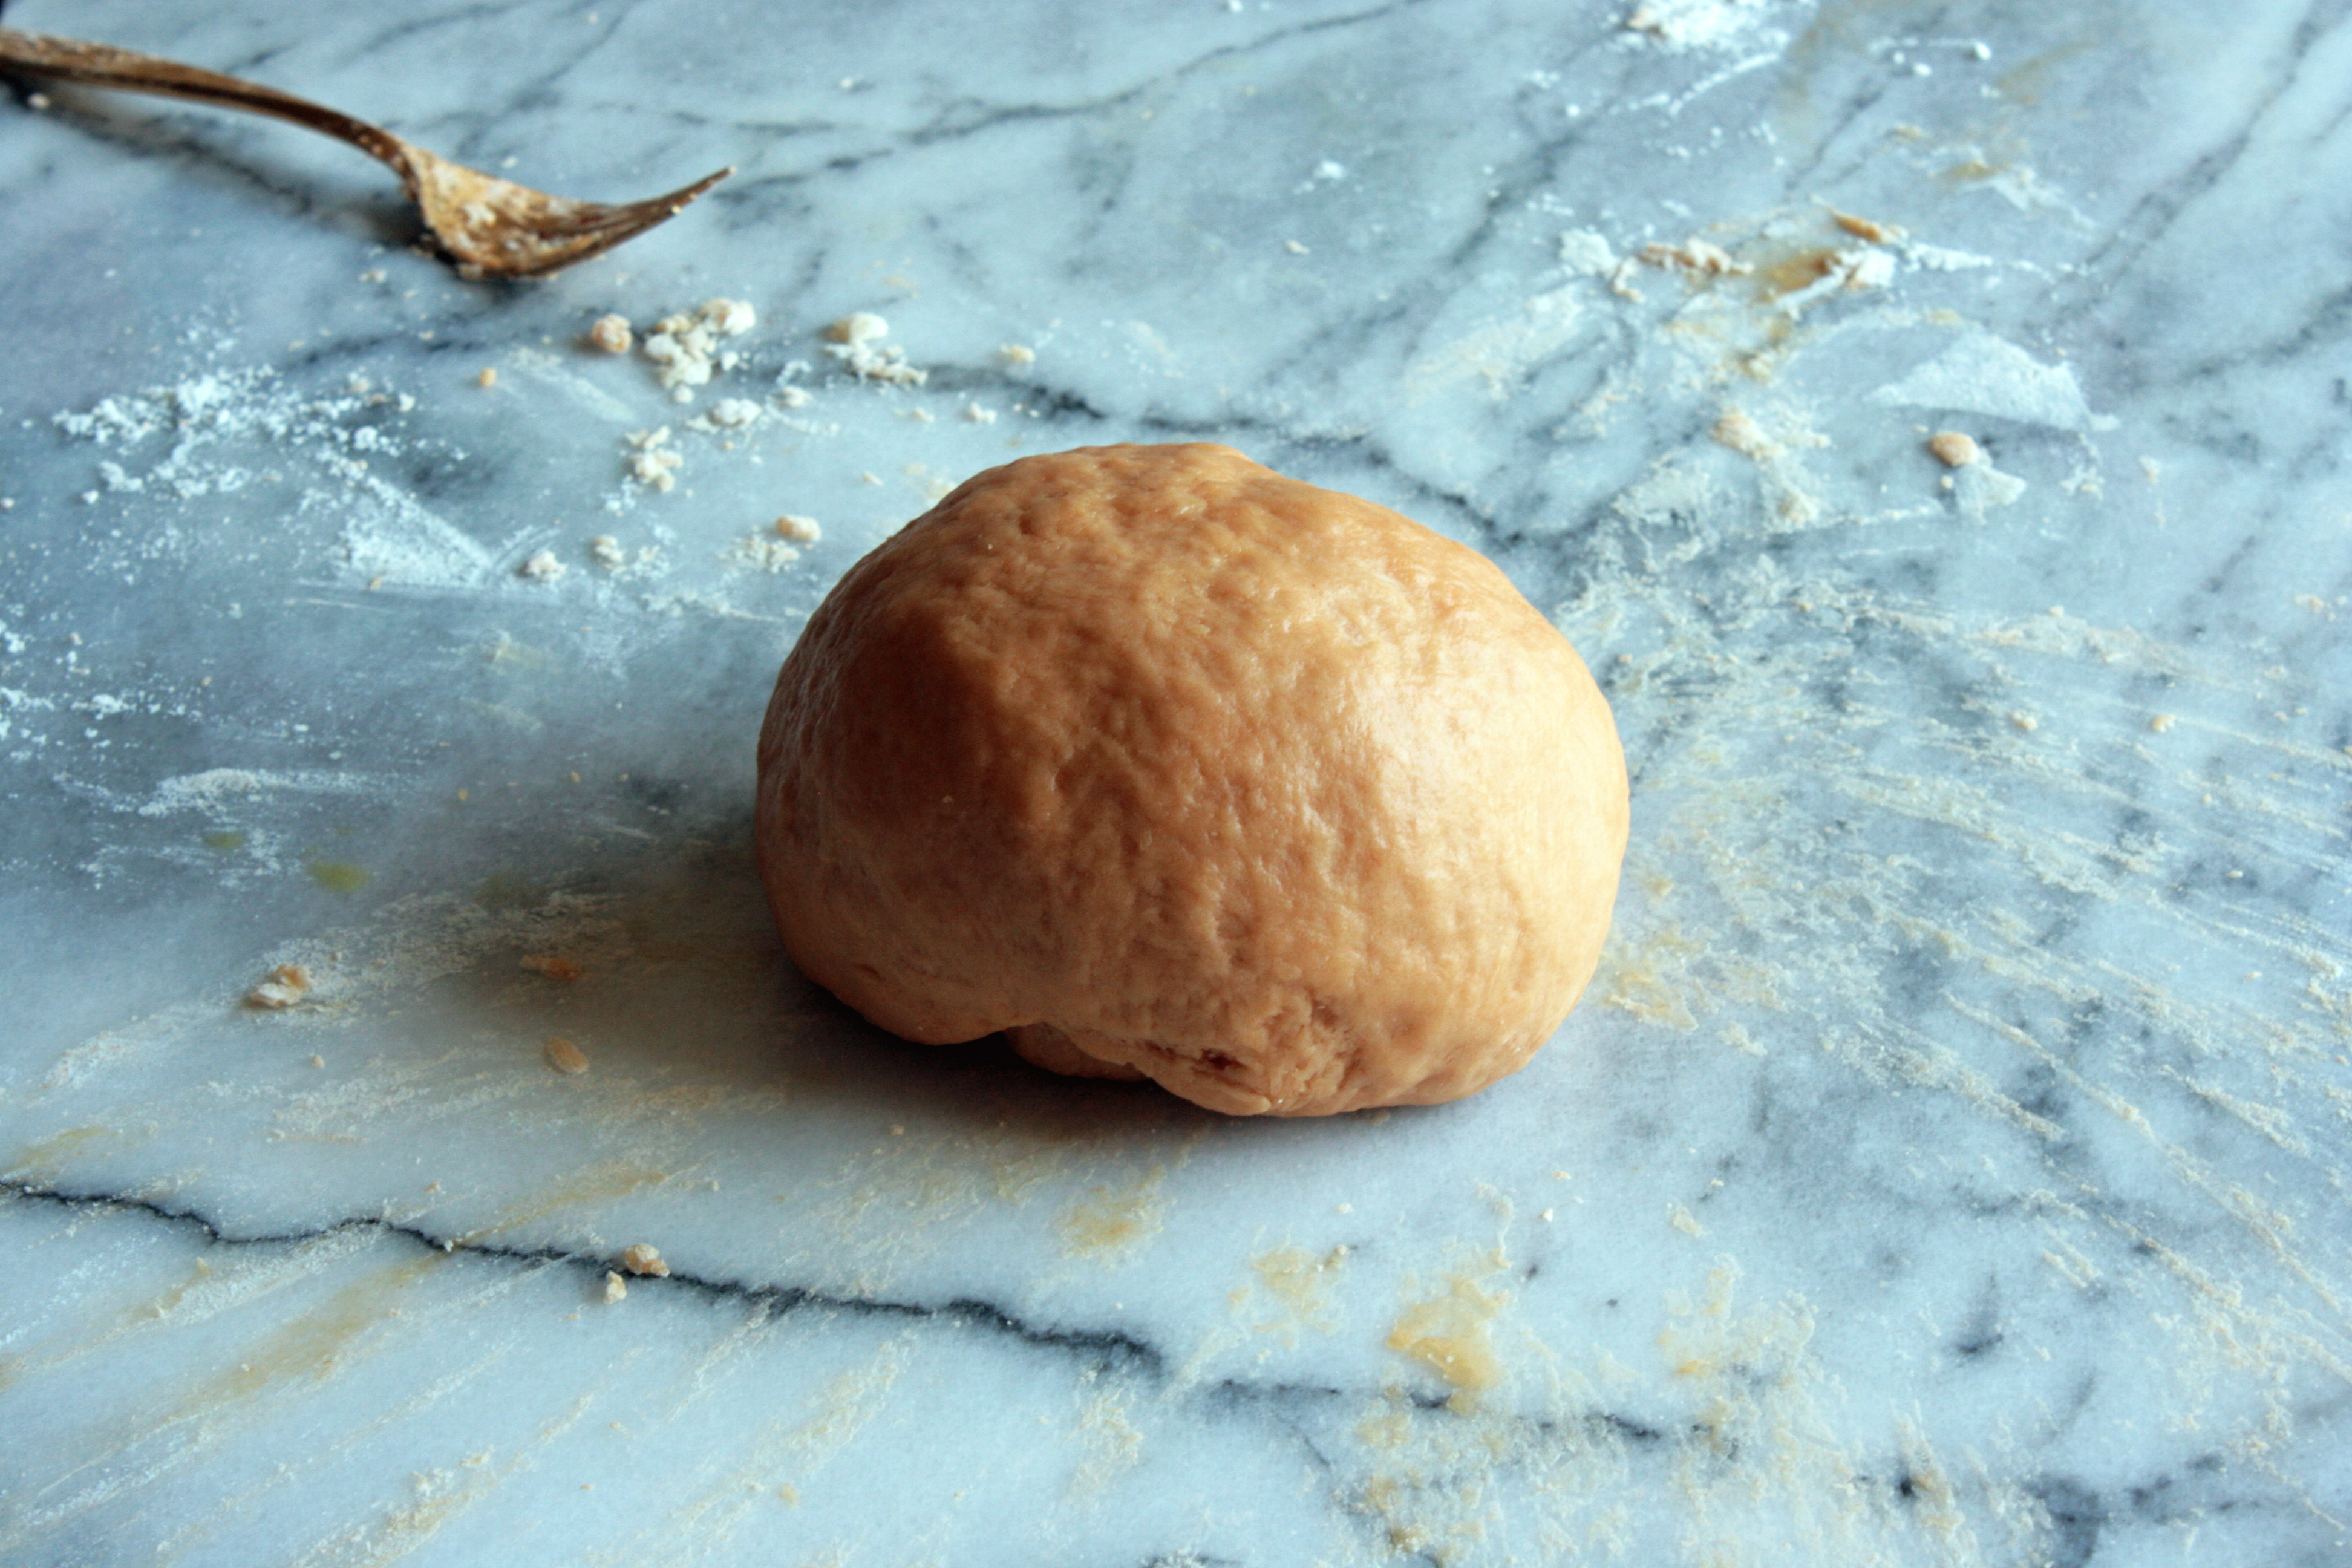
Wrap the dough in plastic, and let rest for at least 10 minutes. I also applied a thin layer of olive oil to the surface to prevent moisture from escaping.
Take that time to clean your work surface, as the little pieces of dried up dough crumbs won’t help when rolling out your pasta sheets. Side note: Thanks, mom for the beautiful marble slab! She gave it to me since it was just sitting and collecting dust under their toaster…
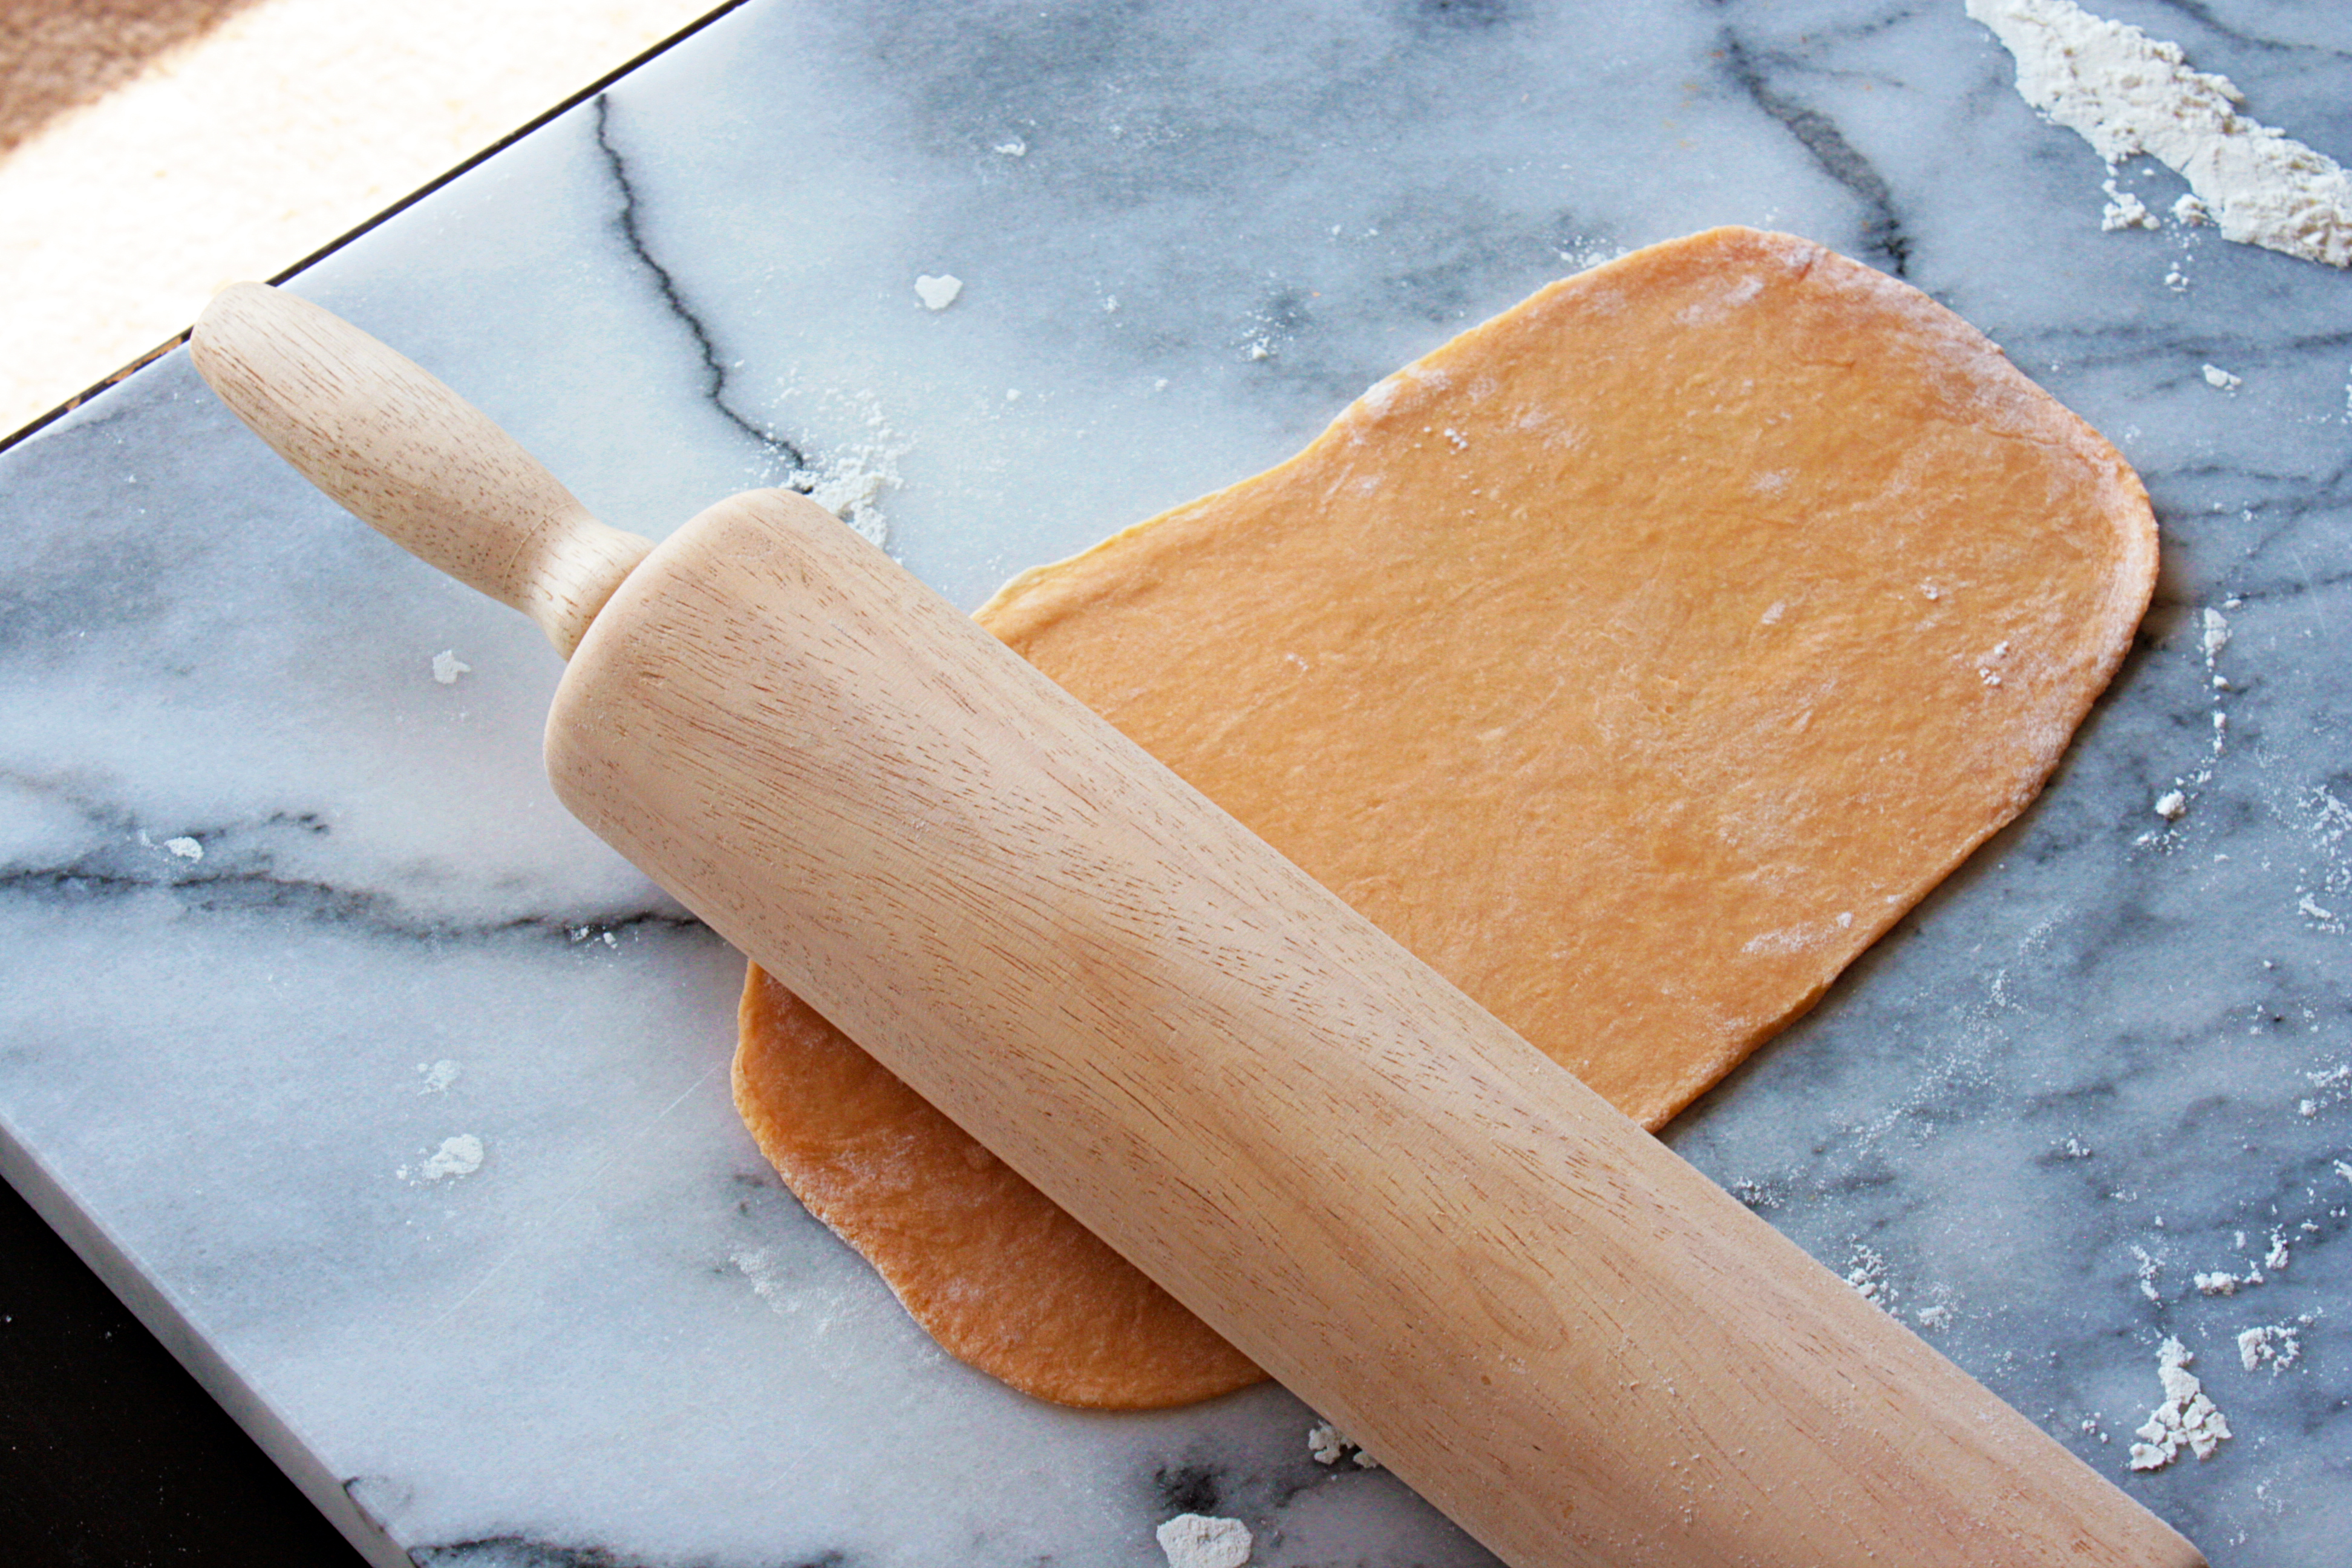
Cut dough into 4 pieces. Make sure your work surface is well floured. Dust one dough portion with flour and make sure to cover the others in plastic.

Shape piece into a cylinder, then with a rolling pin, roll from the center out, into the shape of a rectangular sheet. At first, it will pull back, but as you keep pressing it will start to hold its shape. Repeatedly pull dough off work surface, flip at least once, and keep rolling until your sheet is flat with consistent thickness throughout. For spaghetti, mine was about 2 mm thick.
At this point, the dough should feel just slightly drier since it’s been thinned out and more surface area is exposed, but it should still be very flexible.
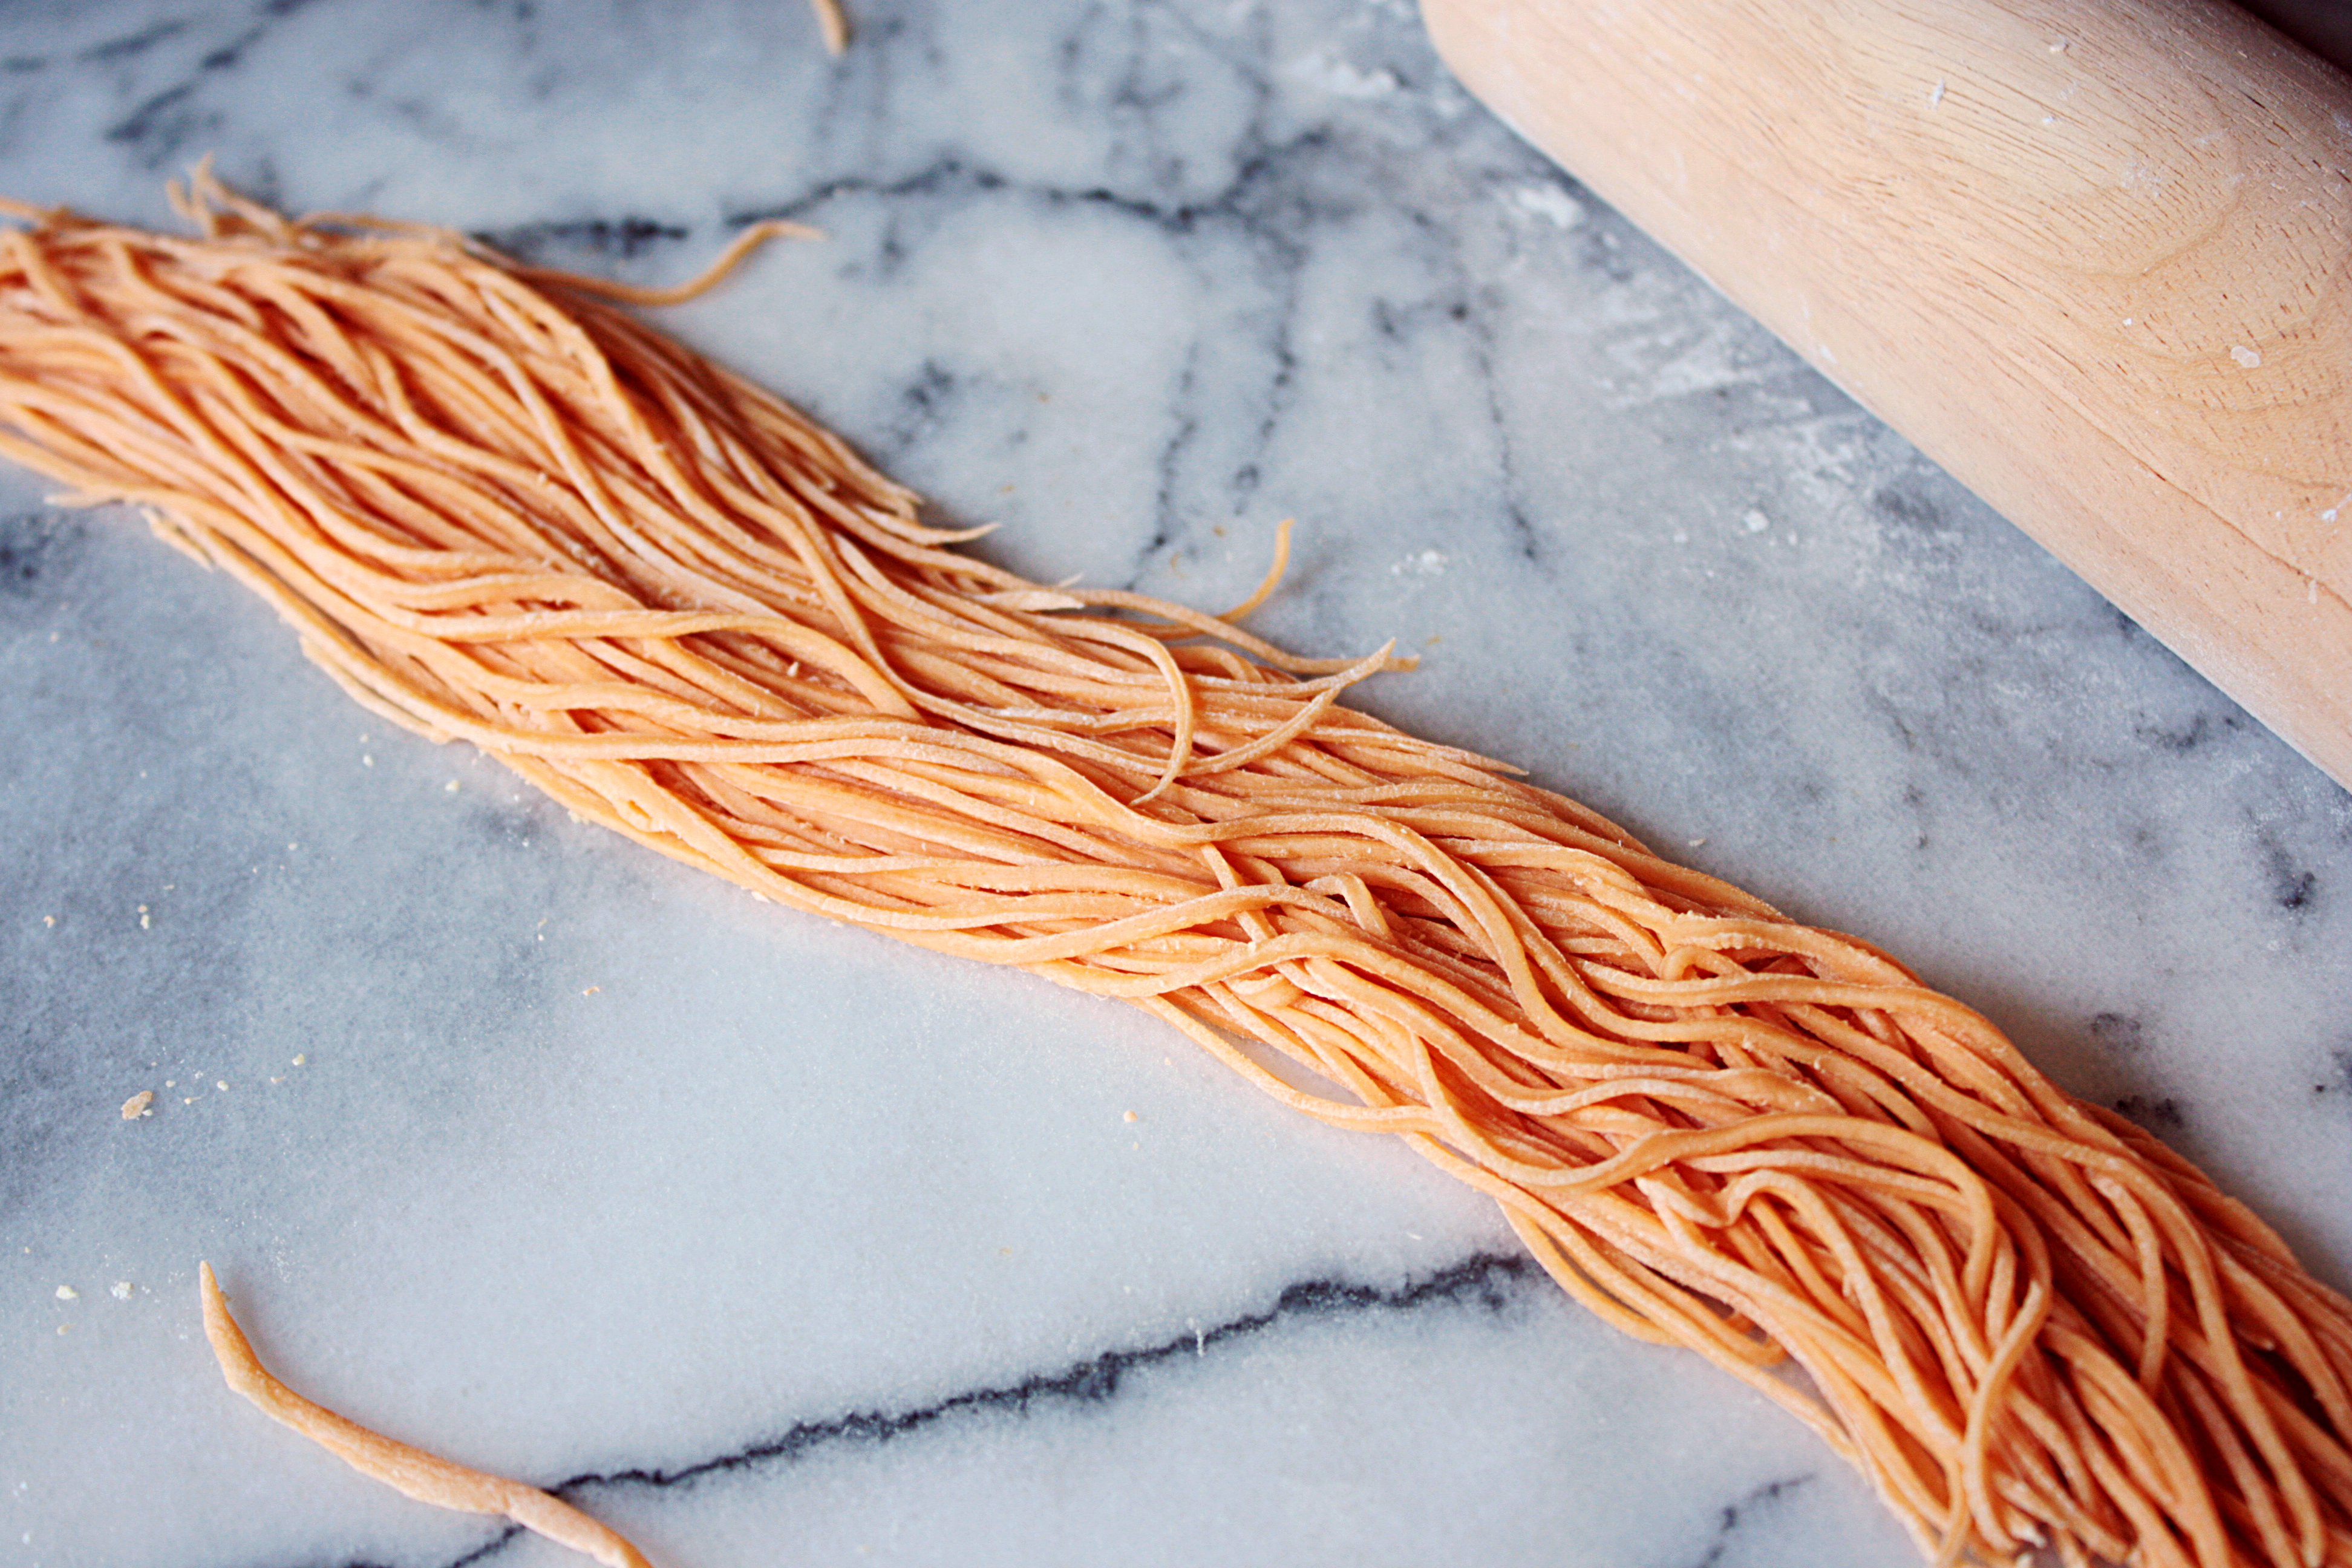
Once the sheet is rolled out, make sure to apply flour to the front and back! This will prevent the strands from sticking together in the pasta maker and backing everything up. Carefully feed the pasta into the pasta maker, and crank out the dough at an even pace.

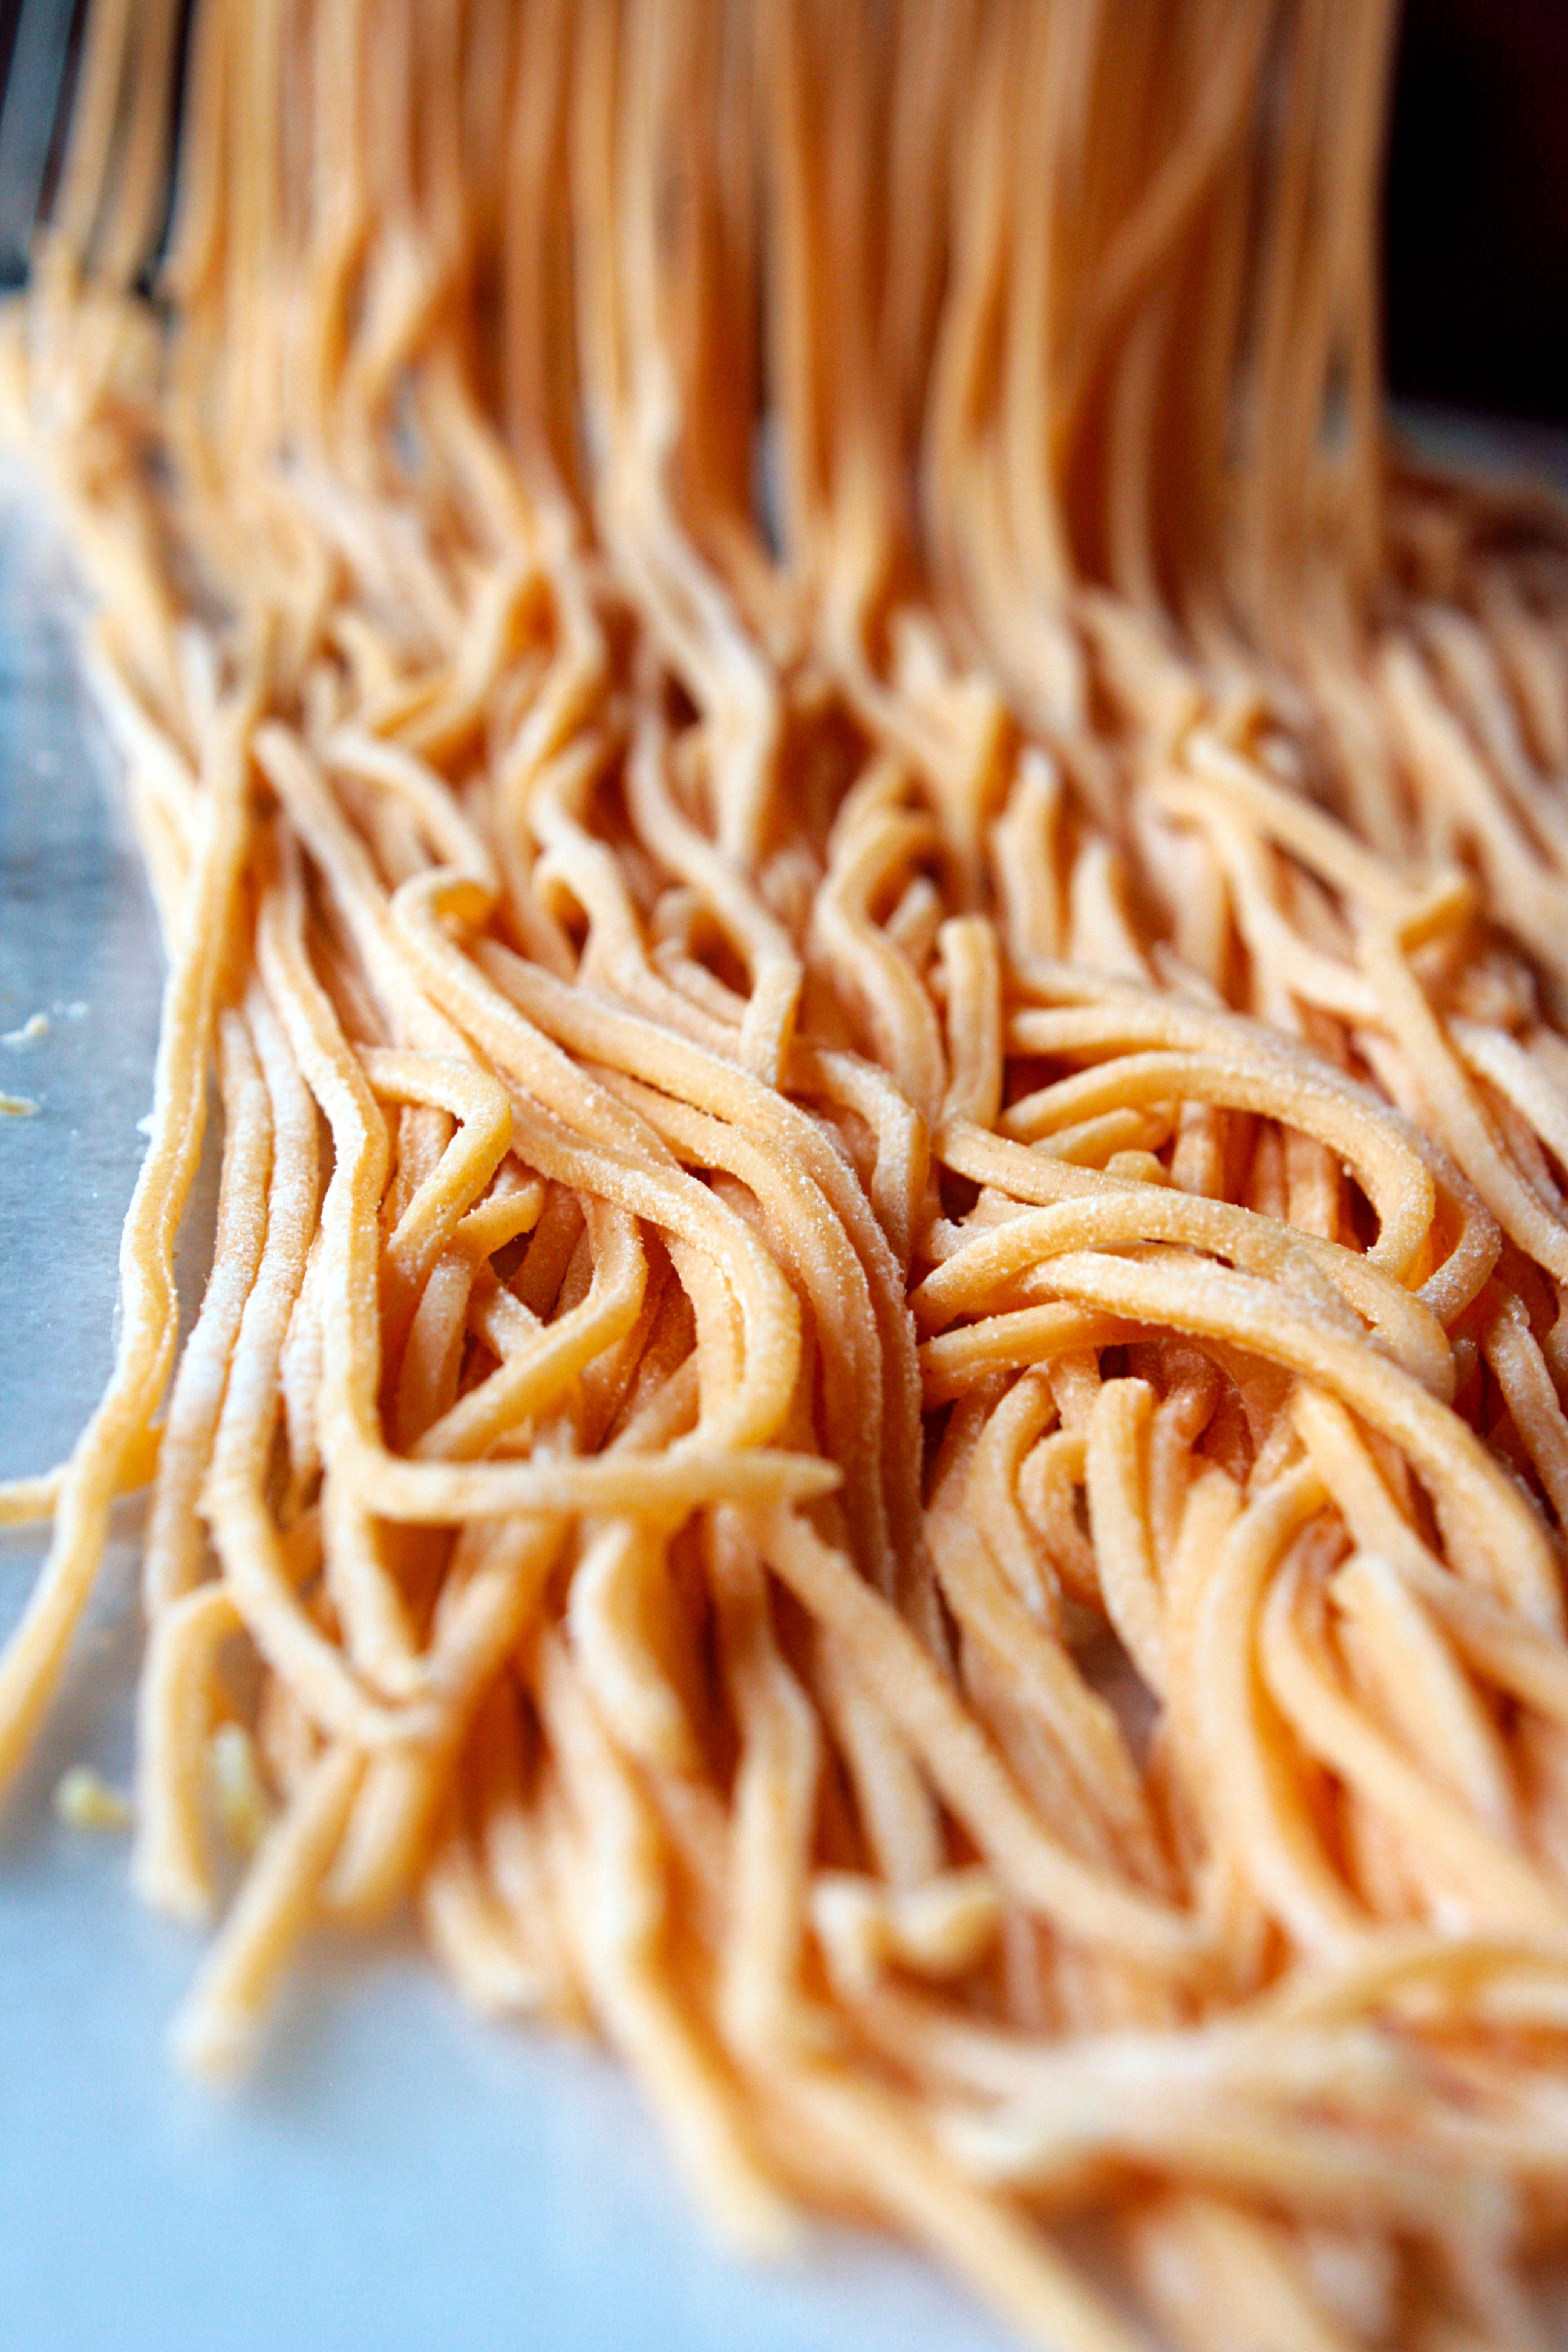
If you are going to boil it right away, dust with flour so it doesn’t stick to itself and dry it out for about 20-30 minutes depending on how dry the air is. It should be somewhat stiffer, but not brittle. Then throw it into boiling water.
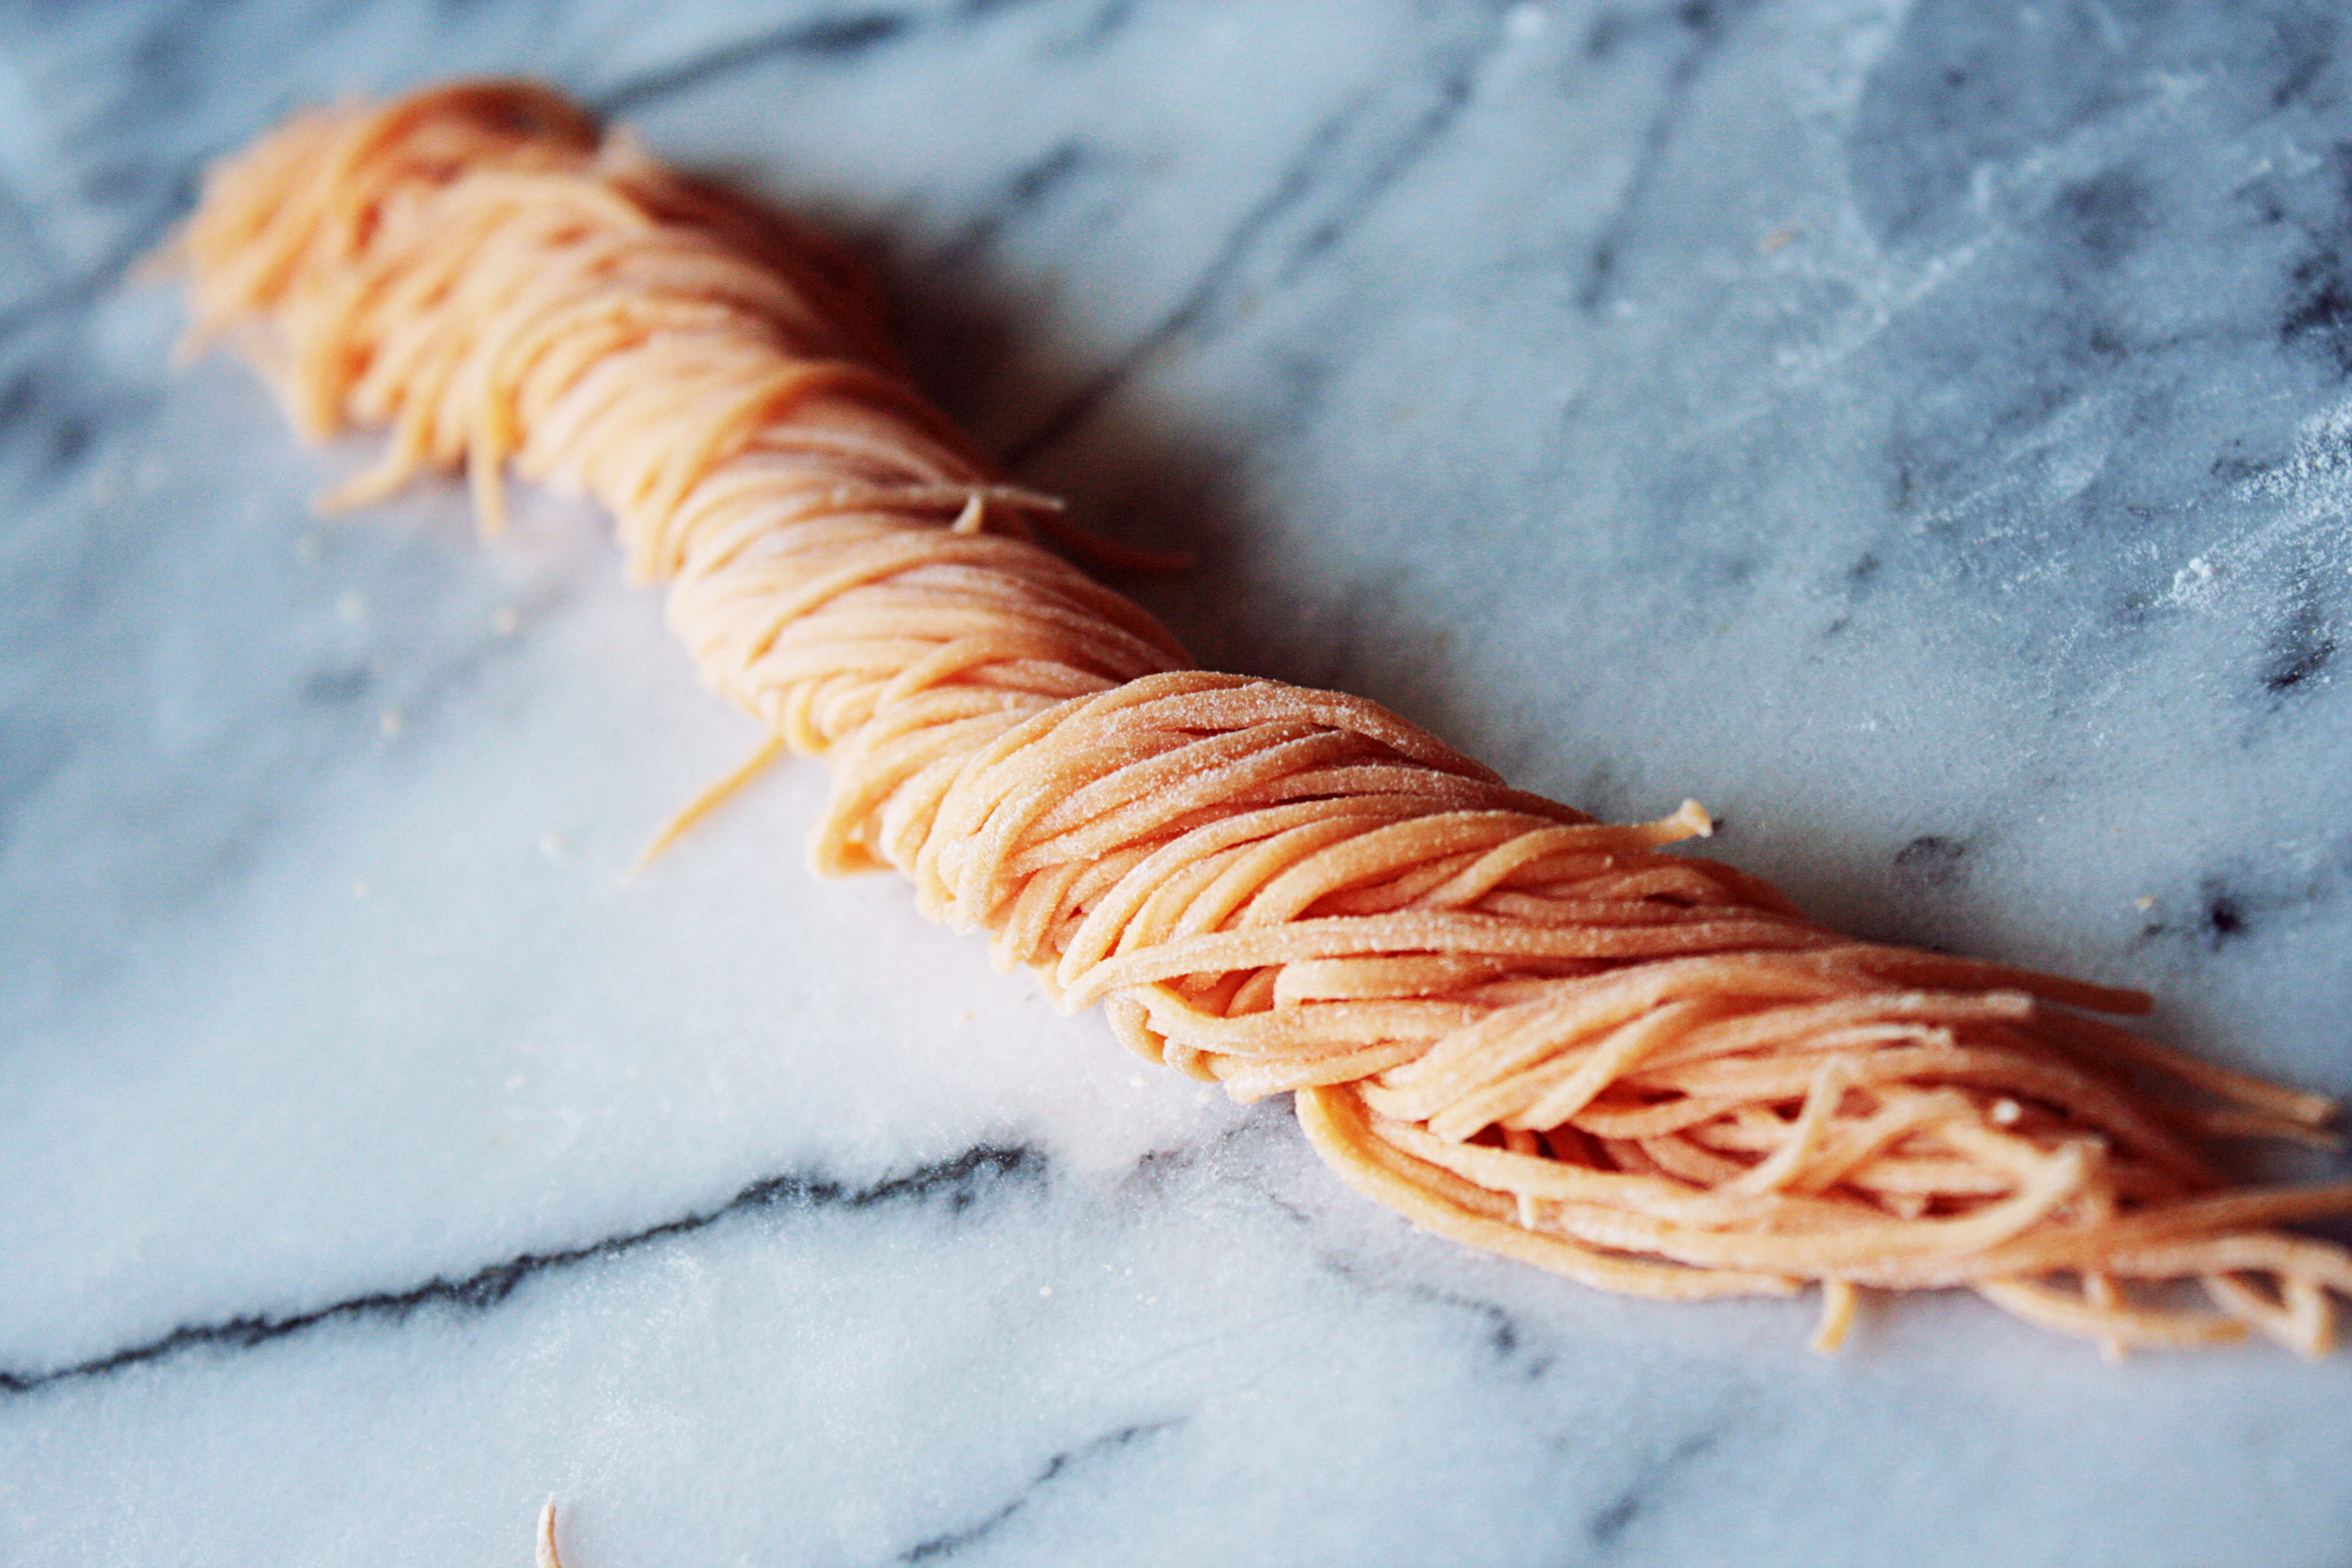
If you plan on storing it, dust more liberally with flour, create little pasta nests, then dry for at least an hour before freezing.
To create pasta nests, first group one serving of the strands like so:
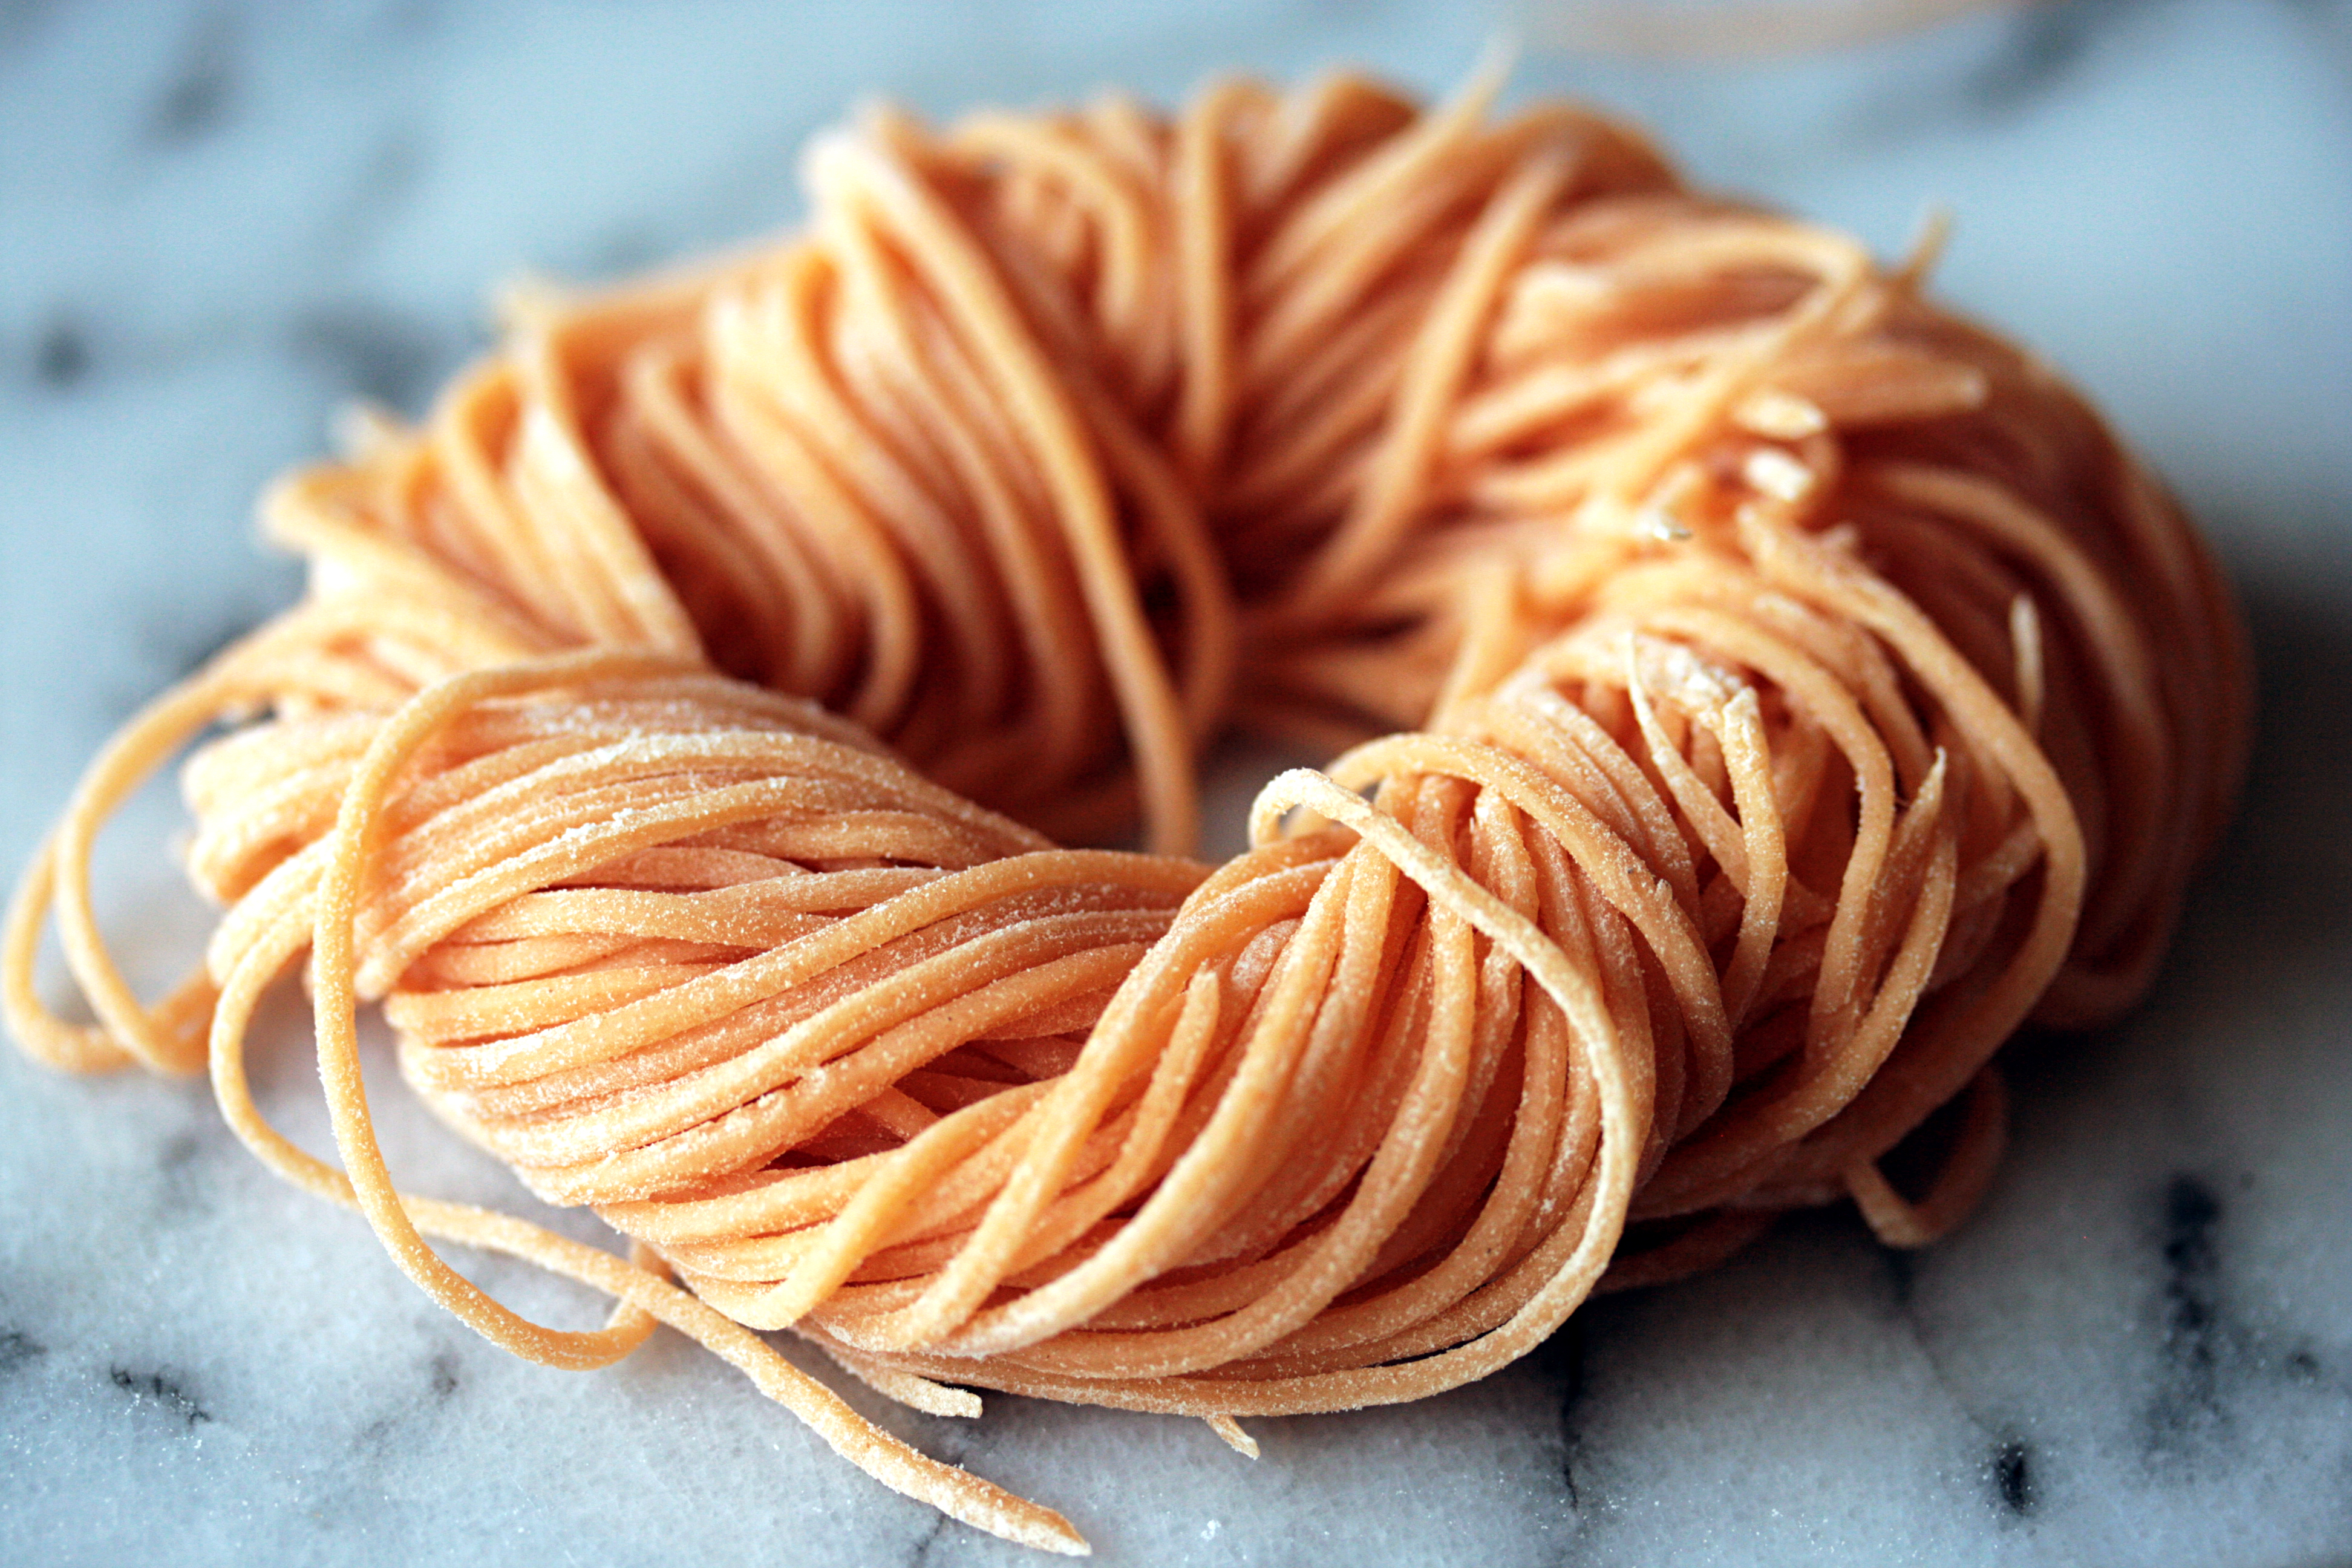
Then twist the entire thing:
Loop strands into a circle, and wrap one end around the other, and that’s it!
Here’s how it looks after being boiled:
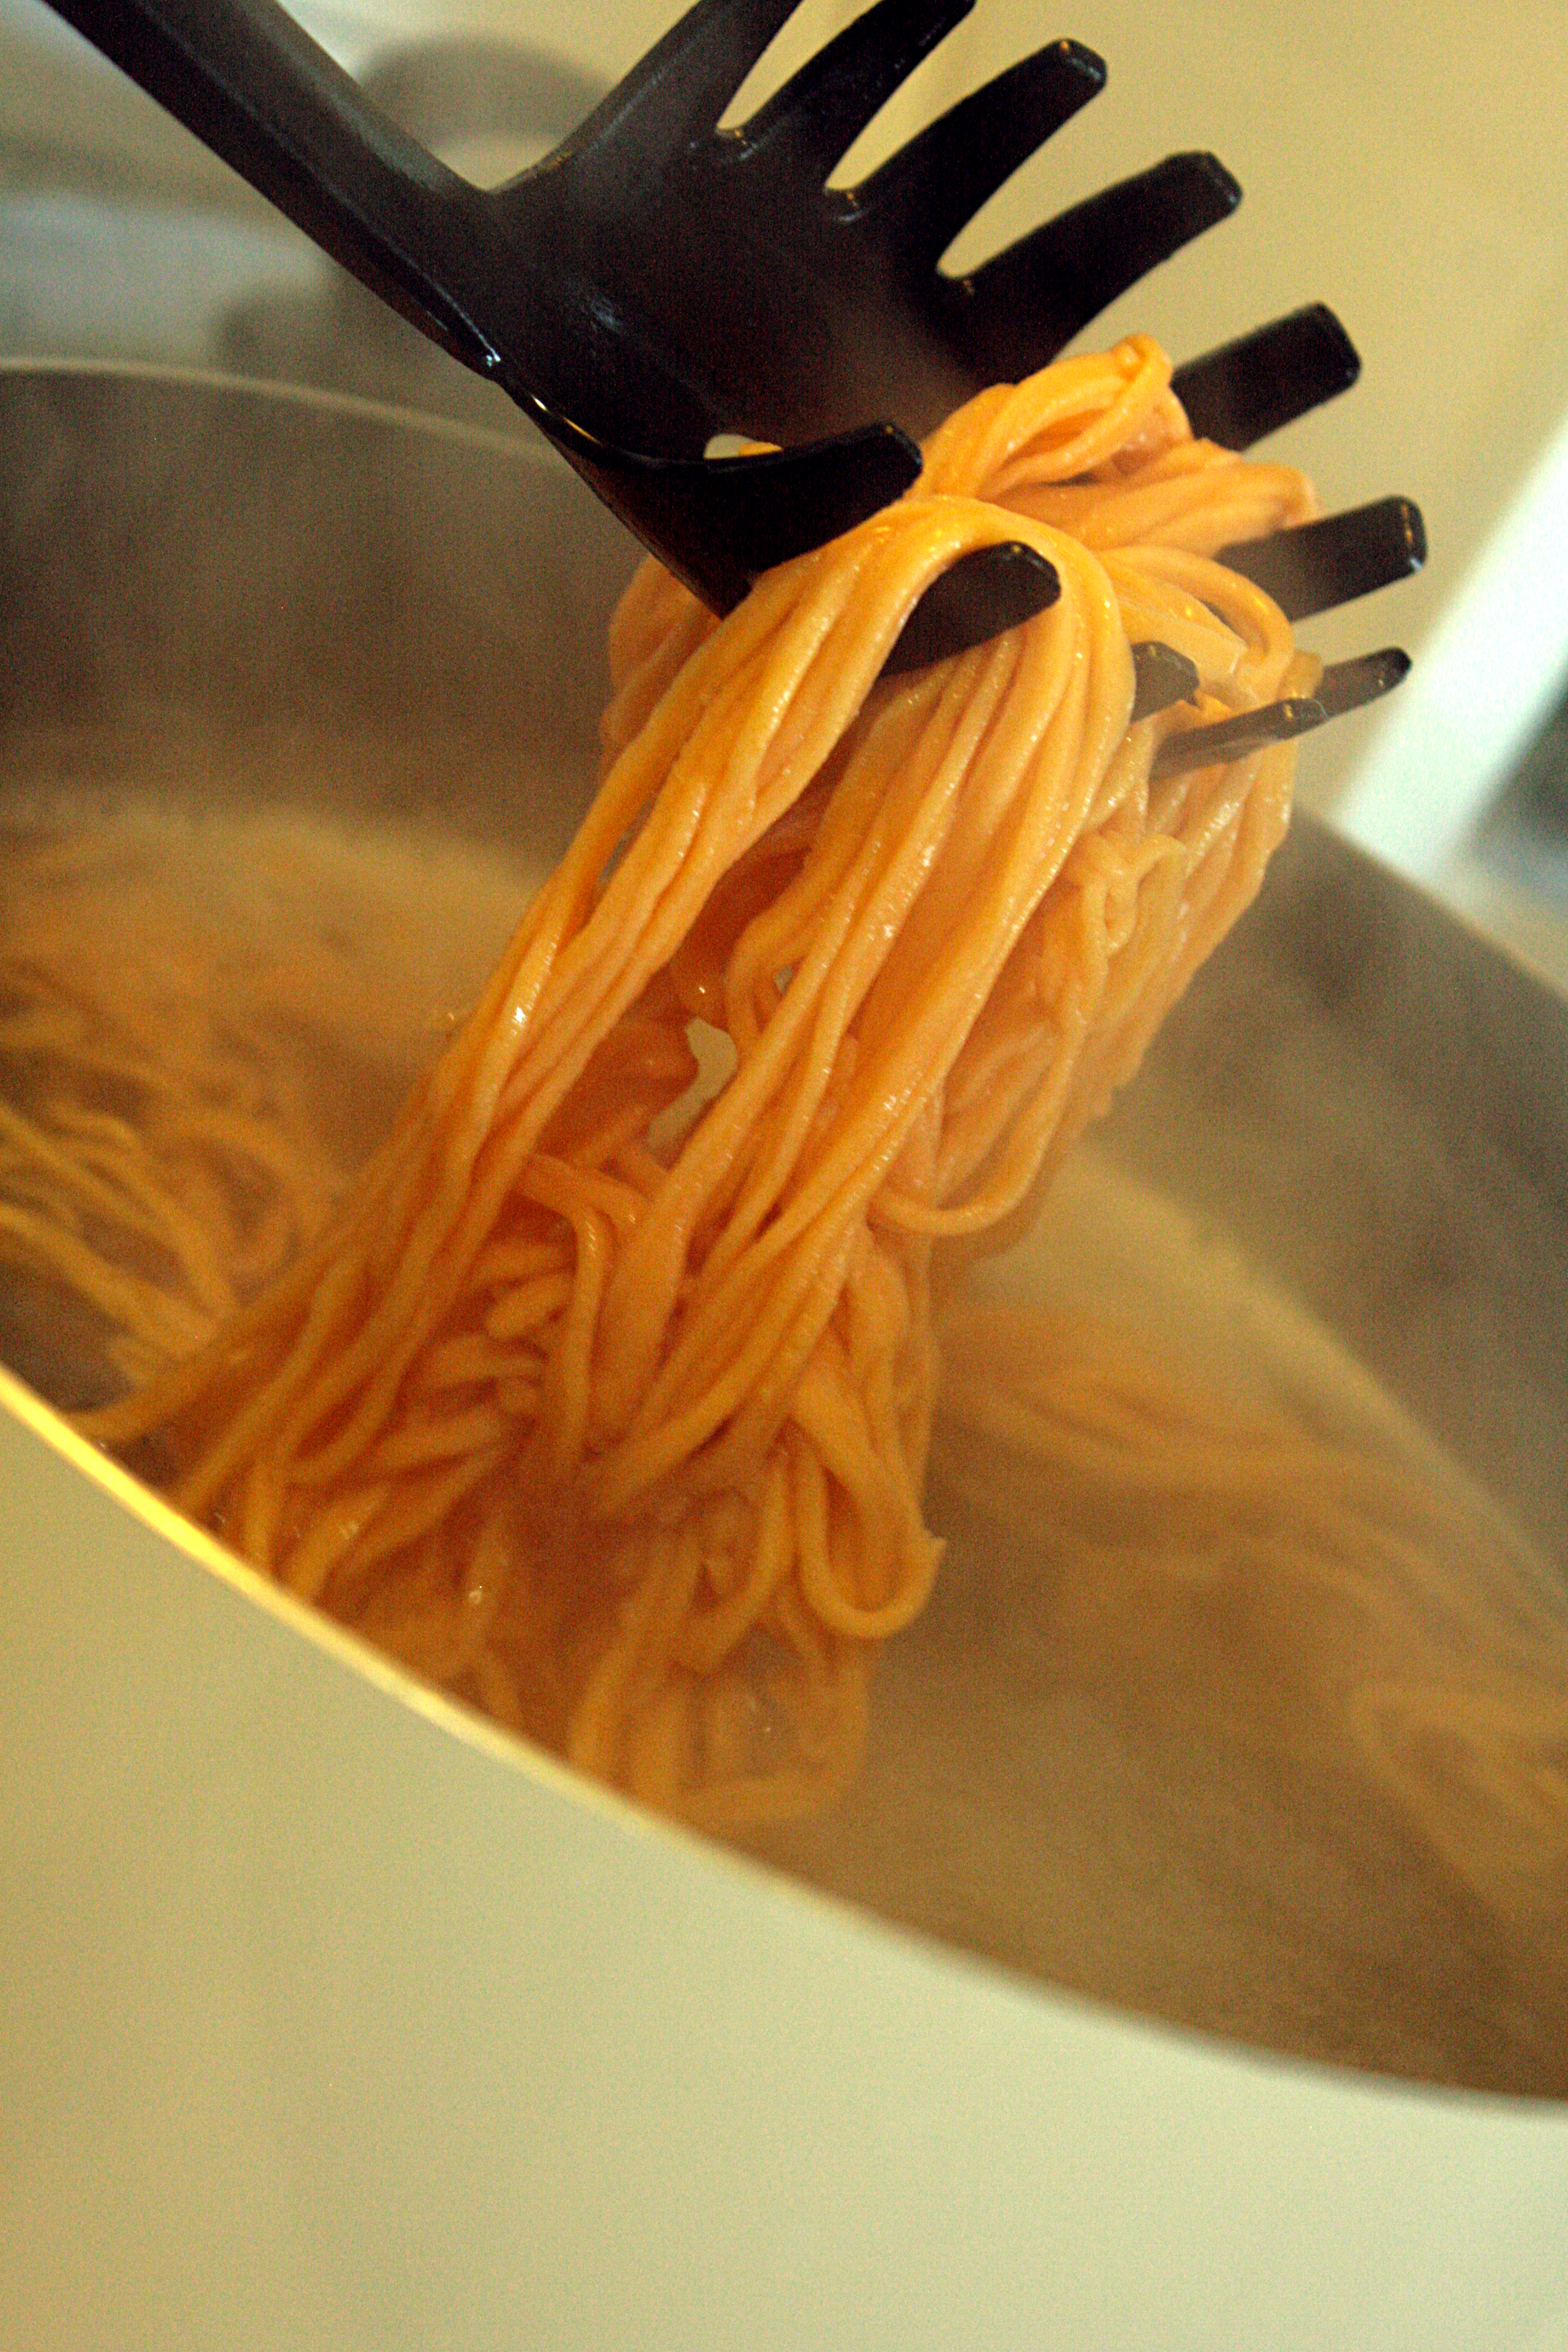
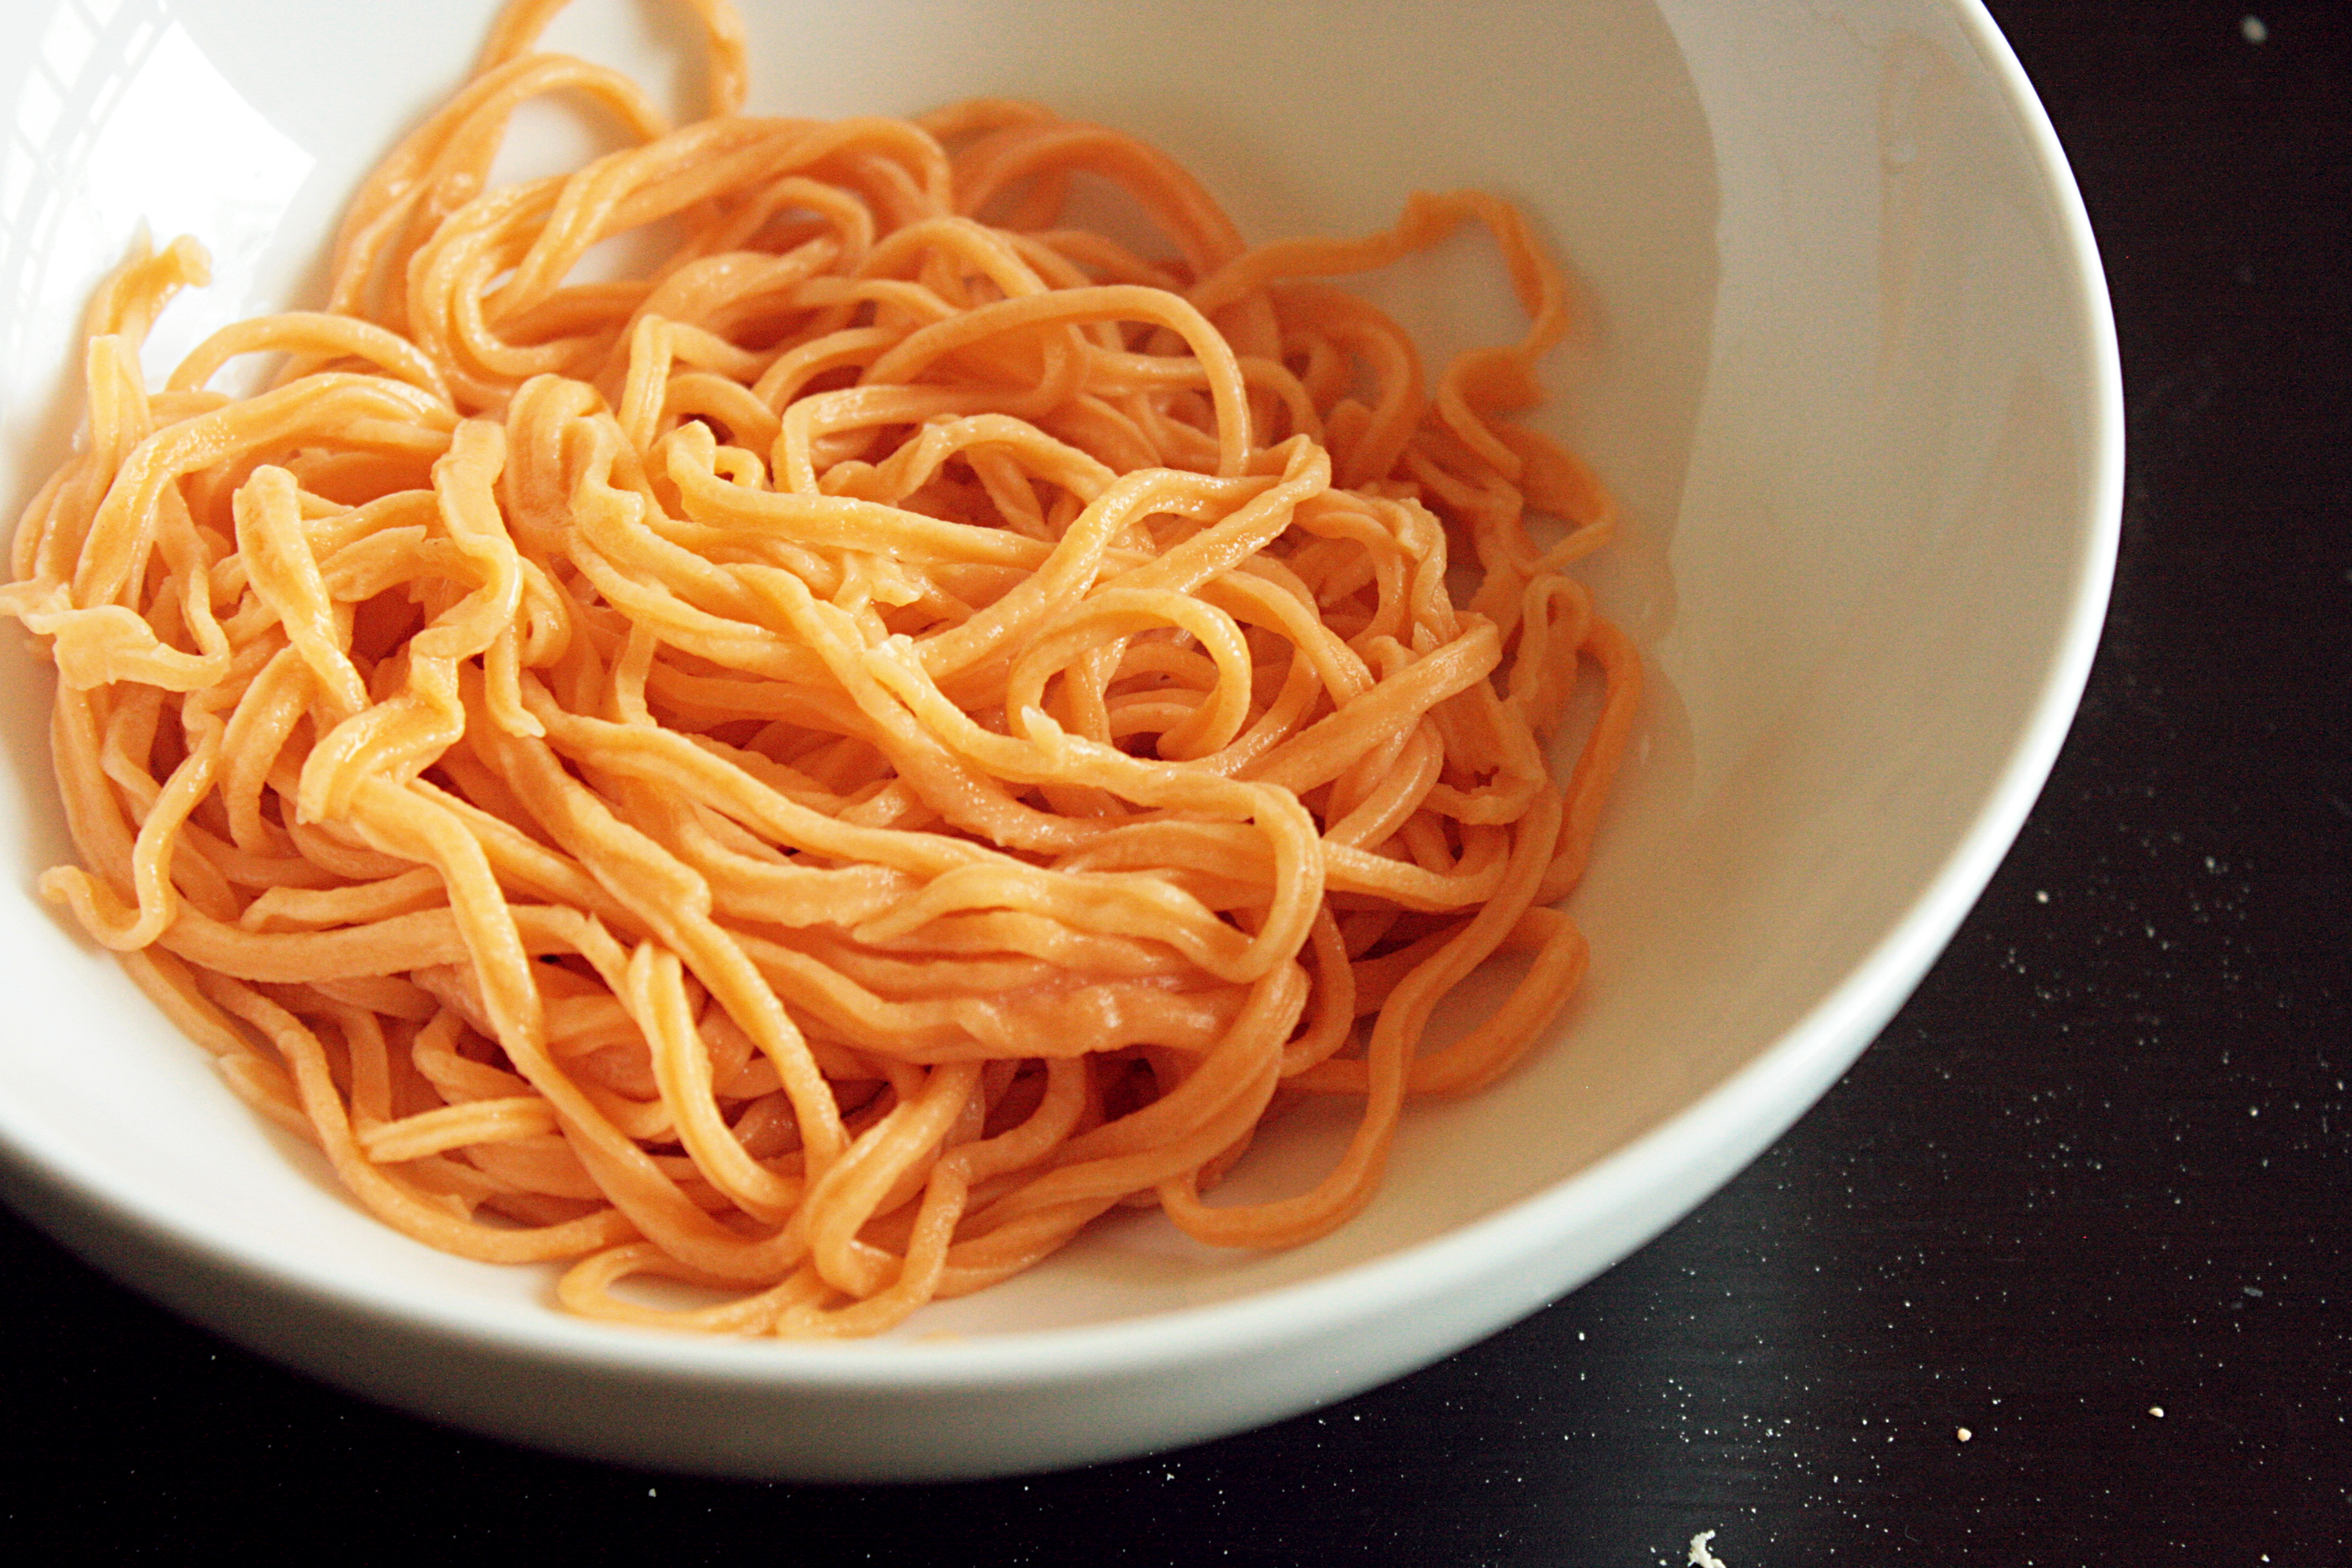
Scoop out pasta from boiling water once al dente. It’s much faster with fresh pasta- just after the strands start to float, test and see if the right texture is reached. Toss with your favorite sauce, adding pasta water if needed.
In bocca al lupo!
One of those weird Italian idioms… Basically- Good luck!

Yes, fresh pasta requires patience and practice, but when you can finally make it it’s very rewarding and gives a big satisfaction 🙂
LikeLike
Thanks for the like 🙂 I have been meaning to make my own pasta for so long…hopefully this will inspire me to do so soon!
LikeLike
You have awesome pictures! Love how neat and clean everything looks. My kitchen would not be like that!
LikeLike
I’ve never been brave enough to make my own pasta– but you do make it look “do-able!” Your pictures are exquisite!!
LikeLike
Thanks, Rhonda! I definitely tried showing the process step-by-step because I would have found it helpful when trying it the first time 🙂
LikeLike
Those noodles looked luscious!
LikeLike
I have zero interest in making homemade pasta – but I read this entire post because the photos were so beautiful!
LikeLiked by 1 person
Hahaha I’m sure you’re not alone. Thanks for checking out my post, Brenna!
LikeLike
I really love to cook but never made the pasta by myself – once i tried it (filled tortellini) but it didn´t taste how I wanted it to be! This looks really, really nice – when I´m back to germany where I find all the ingredients I would like to give my “pasta-skills” a second chance 🙂
LikeLiked by 1 person
I’ve never tried making pasta with filling, but I’d imagine it takes more skill than spaghetti! Thank you, and I’m glad the photos inspired you to try again!
LikeLiked by 1 person
Yes, maybe I should start with Spaghetti and then go to the “next level”. Haha. But as I love to make my own Truffle Butter (which is sooo yummy – it’s also on my blog) and it suits the best to filled pasta I was motivated to try it. But yes one after the other. 🙂 Thanks for your inspiration!
LikeLike
I have never made my own pasta from scratch before.. I have the machine and everything but have been too intimated to try making some. You definitely have inspired me to recreate the recipe.. thanks for sharing it!
LikeLiked by 1 person
Sounds like it’s time to break in that pasta maker! Good luck, and Let me know how it goes!
LikeLike
I love making pasta from scratch and I’ve also had the overflowing volcano issue which is never fun. I’ve found its easier to only incorporate just as much flour as you need into the eggs prior to kneading. Then you have complete control over how much flour goes in! Good luck with your future pasta endeavors, can’t wait to see how they turn out!
LikeLiked by 1 person
Well that sounds so much more practical! I’ll have to try it sometime. I never really understood the reasoning behind the volcano method anyway. Thanks for reading! 🙂
LikeLike
Well done!!
This came out so well and the picture are dope!!
LikeLike
Thanks! Still working on my photography skills haha
LikeLike
You inspire me to cool more often… Now only if the Bear sits still enough.
LikeLike
Haha! I miss you guys. Cousins cook-off? We can have her taste test ;D
LikeLike
I absolutely love the photos! What are you shooting with and which lens did you use?! Thanks, beautiful stuff! 🙂
LikeLiked by 1 person
Hi Bella! All my photos are taken with a Canon Rebel XTi. I use a standard zoom 55mm lens for most shots and occasionally swap out for my 60mm macro.
LikeLiked by 1 person
I feel your pain. Eventually I gave my machine to one of my daughters. But you’re right, practice makes perfect, and fresh pasta is so much better. I’m thinking of trying some gnocchi that doesn’t need a machine.
LikeLiked by 1 person
I love gnocchi! I’ve only made it a few times though since prepping the potatoes can take a long time and it makes for a heavy meal.
LikeLike